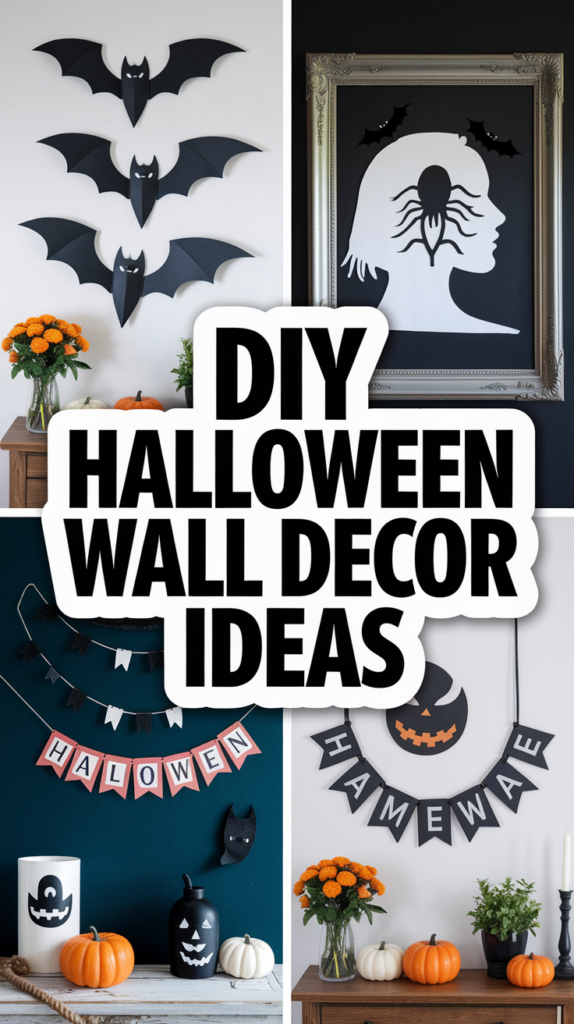
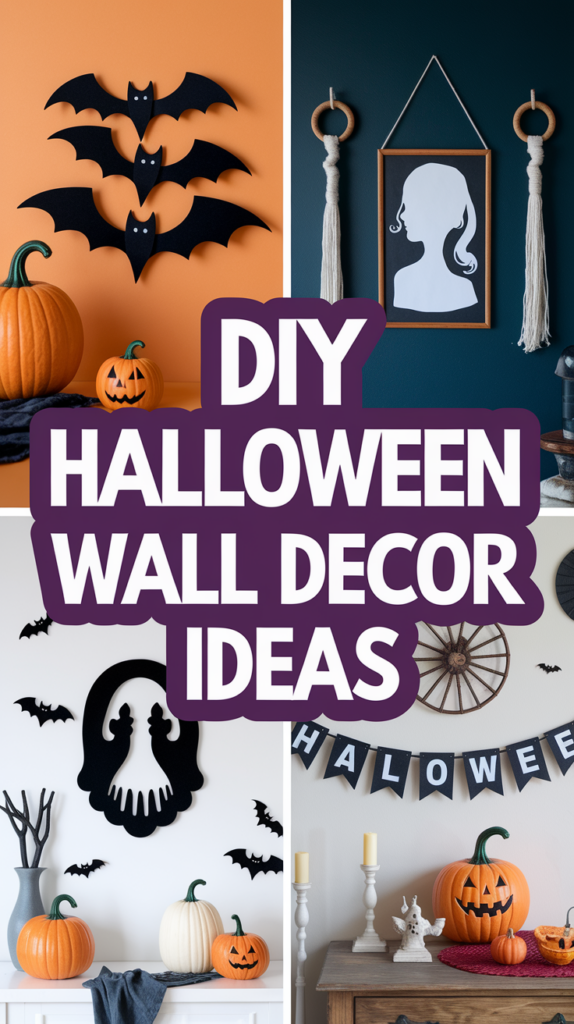
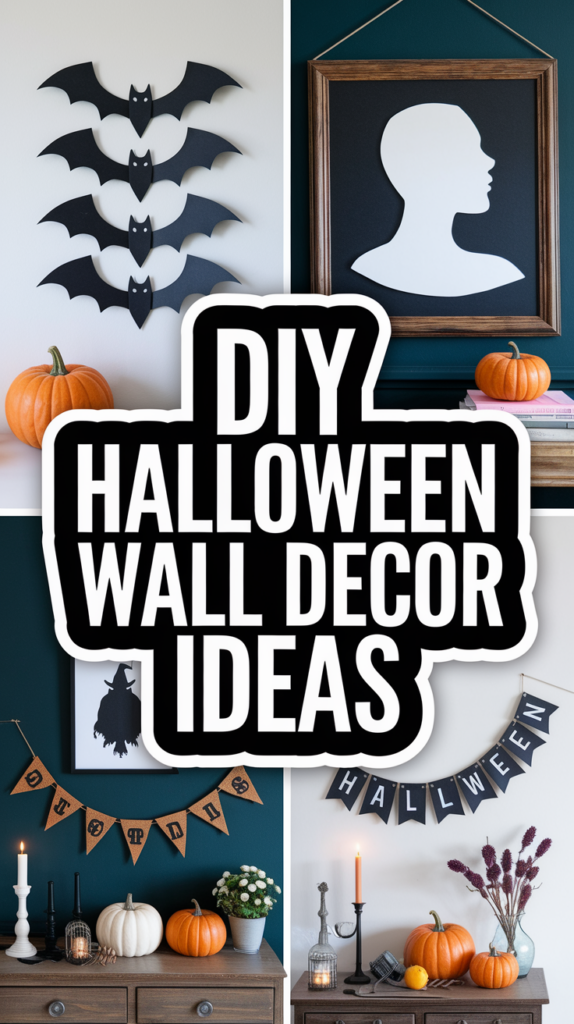
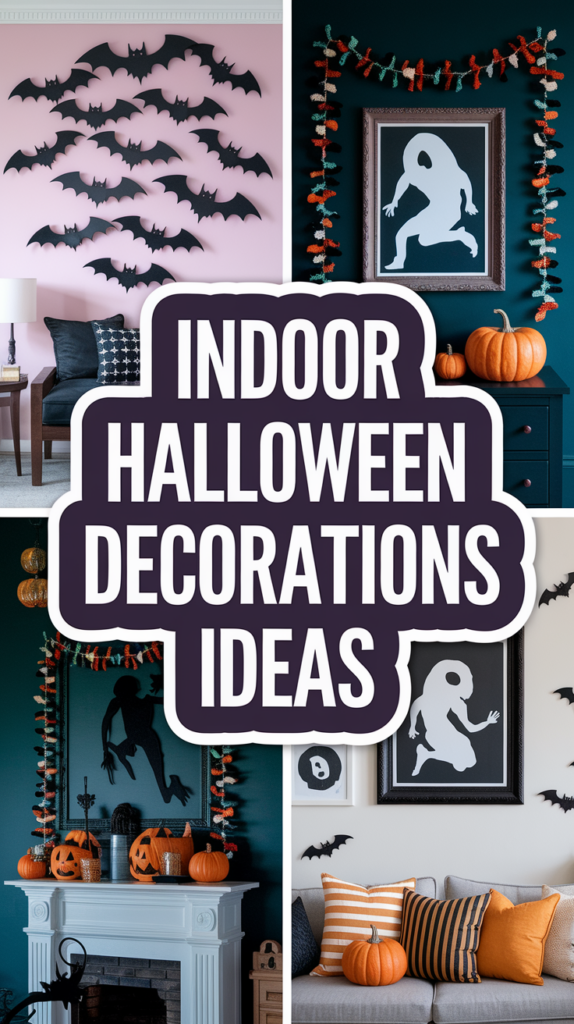
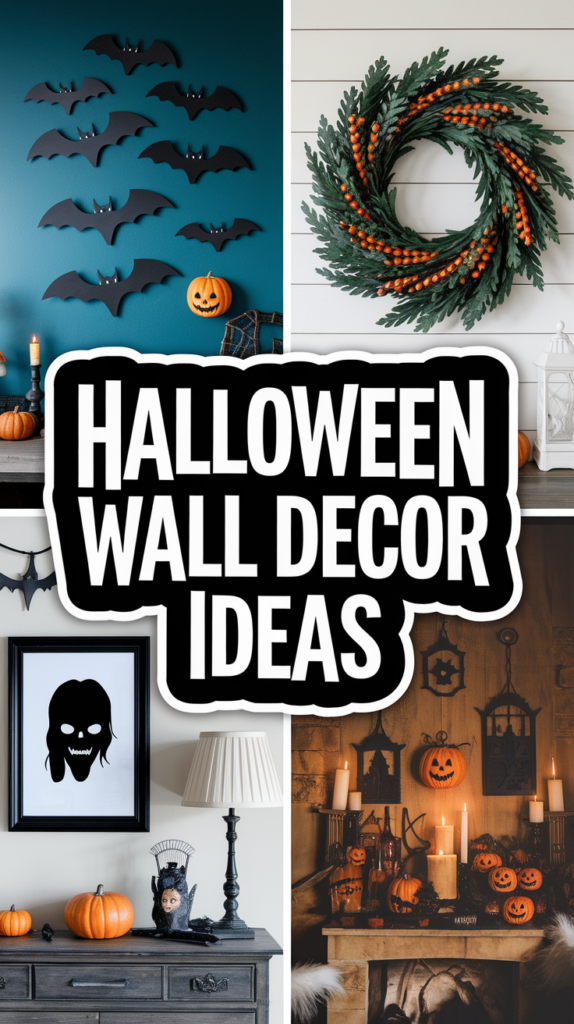
Halloween Wall Decor Ideas That Add Instant Seasonal Charm
October is hands-down my favorite month of the year! Between pumpkin patches, costume planning, and all the candy corn my three boys can eat, there’s something magical about transforming our home into a Halloween wonderland. And let me tell you, nothing makes a bigger impact than amazing Halloween wall decor that sets the spooky scene the moment anyone walks through the door!
The best part about decorating your walls for Halloween is that it doesn’t have to be complicated or expensive. I’ve learned through trial and error (and lots of glitter mishaps with the boys!) that simple, creative touches can completely transform a space. Whether you’re going for spooky-chic or family-friendly fun, these Halloween wall decor ideas will help you create that perfect seasonal atmosphere without spending hours on complicated projects!
Floating Witch Hat Display
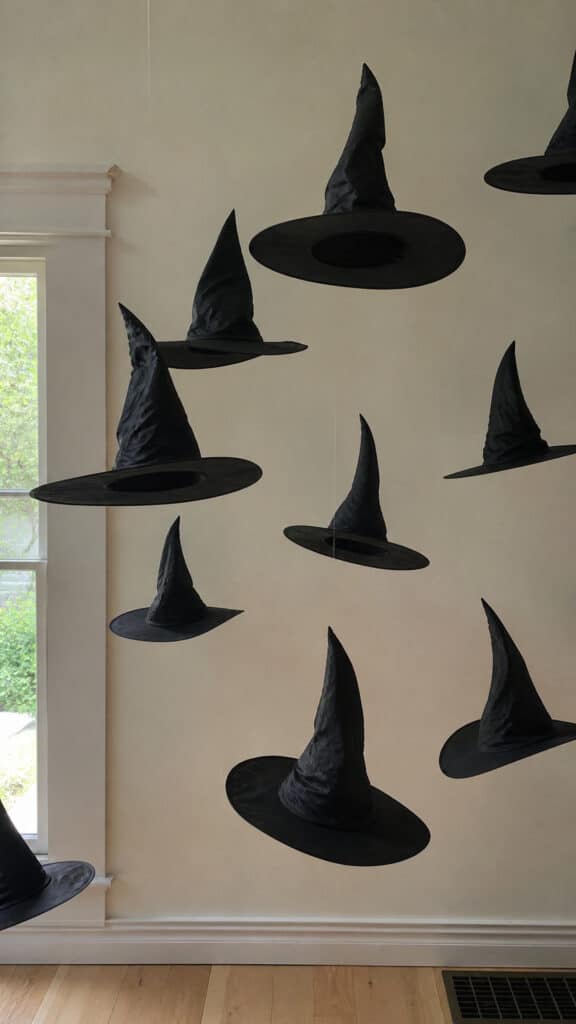
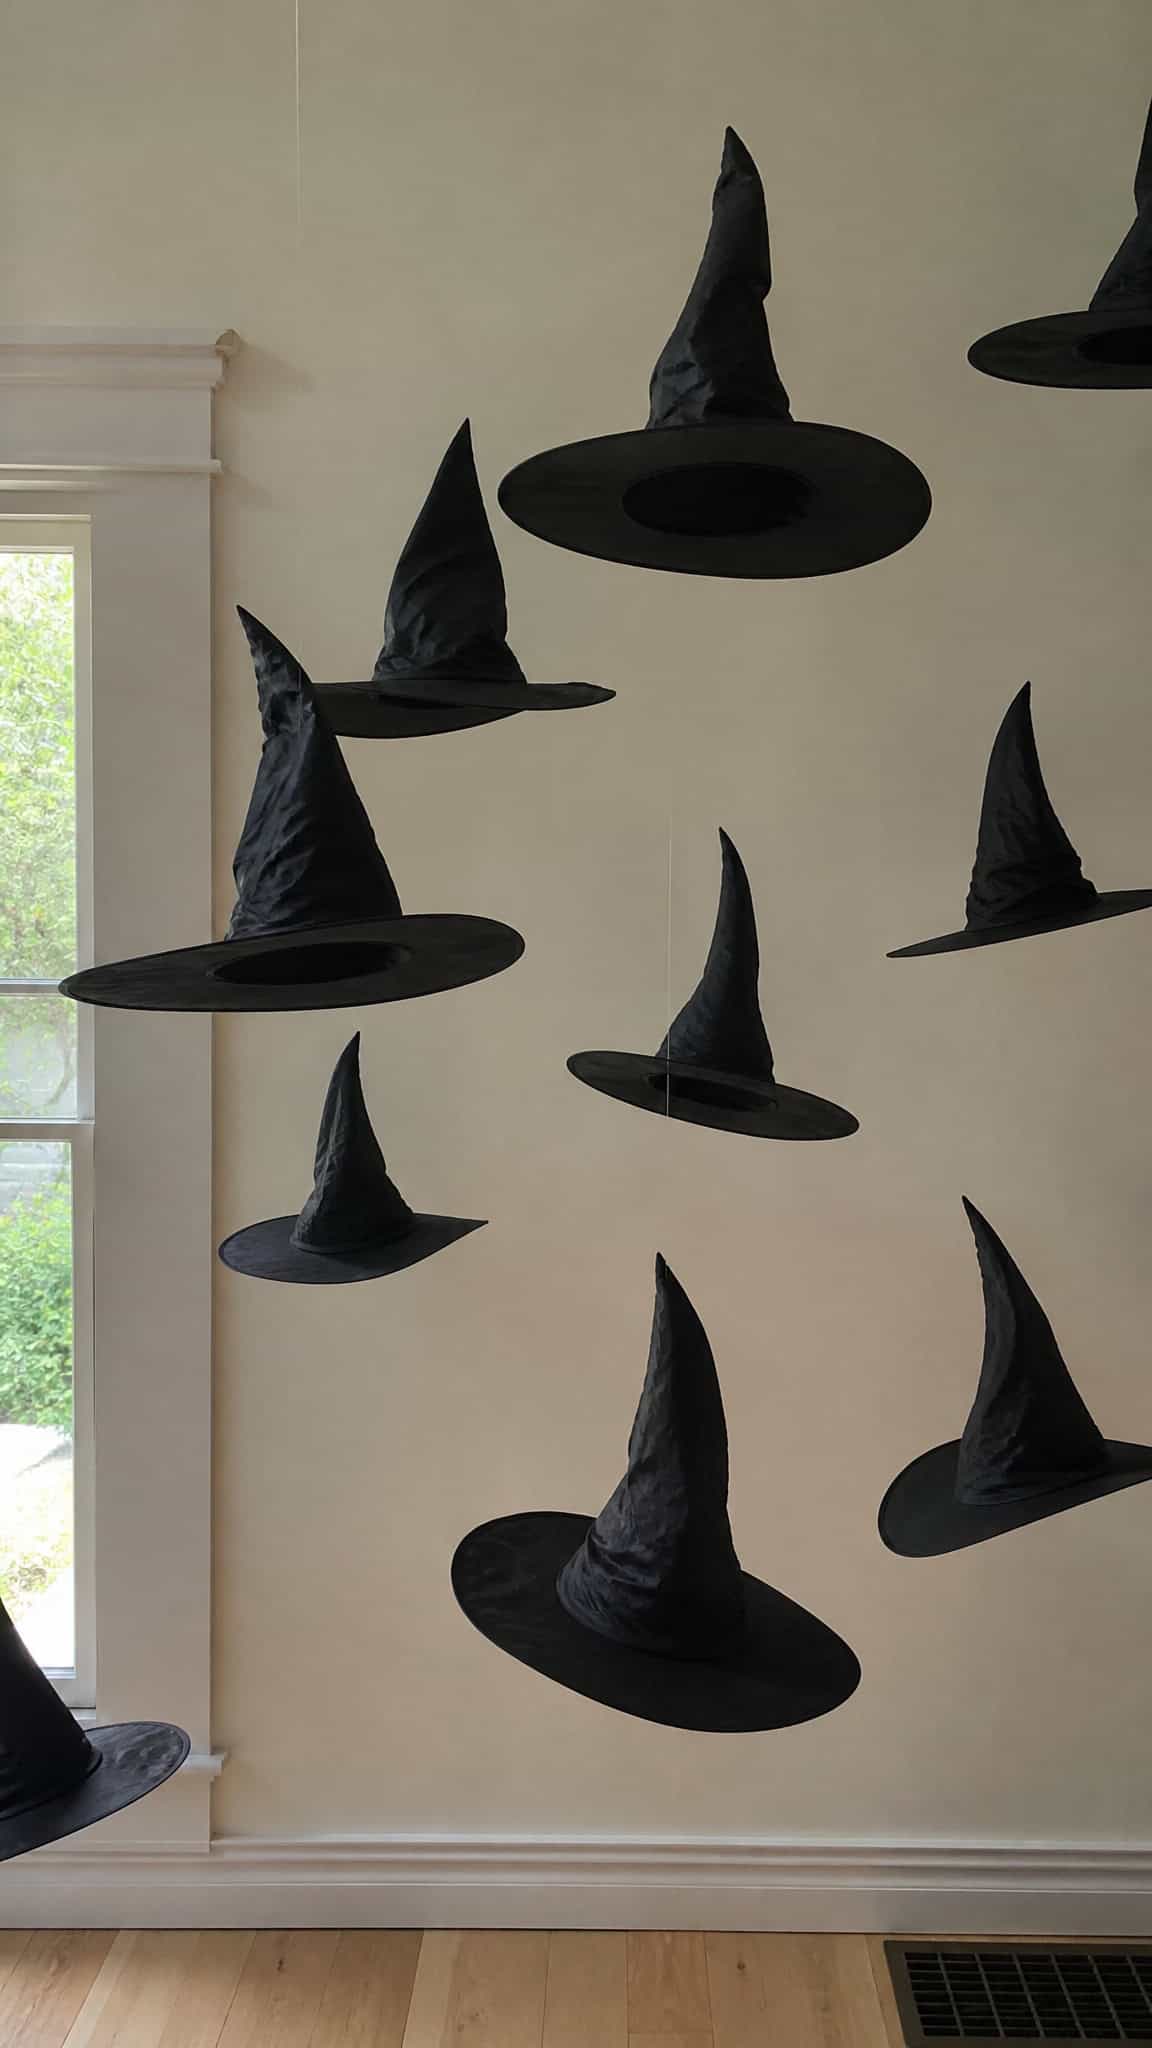
This has become one of my absolute favorite Halloween wall decor tricks! I discovered this idea last year when I found a pack of inexpensive witch hats at the craft store, and now I can’t imagine our Halloween without them. The concept is simple but SO effective – you hang witch hats at different heights on your wall using clear fishing line or removable hooks, creating the illusion that they’re magically floating in mid-air!
To create this look, I use about five to seven witch hats in varying sizes. The key is to stagger them at different heights and angles to make it look like they’re swirling through the air. My middle son insists they’re flying to a witch convention every night, which honestly makes me love this display even more! You can find affordable witch hats at dollar stores, craft stores, or even make your own from black poster board if you’re feeling crafty.
What I love most about this Halloween wall decor idea is how customizable it is! You can add LED string lights around the hats for a glowing effect, attach small plastic spiders crawling up the fishing line, or even add small broomsticks nearby. I’ve hung ours in our entryway, and every single person who visits comments on how creative and eye-catching it is. Plus, the boys think it’s absolutely hilarious to duck under the “flying” hats!
For installation, I use 3M Command hooks because they don’t damage our walls – a must when you’re renting or just want to preserve your paint job! Attach the fishing line to the inside of each hat, then secure it to the ceiling or upper wall. The transparent line creates that perfect floating illusion that makes guests do a double-take!
Paper Bat Colony Wall Art
If there’s one Halloween wall decor project that my boys actually ask to help with every year, it’s our paper bat colony! This is such a fun and budget-friendly way to make a huge visual impact. All you need is black cardstock or construction paper, scissors, and some tape or adhesive putty. I usually buy a few packs of black paper from the dollar store, and we’re set for an afternoon of crafting chaos!
The beauty of paper bats is that they can be as simple or detailed as you want. I’ve found free bat templates online that we print and trace, but honestly, my boys prefer freehanding their own bat shapes – which results in some hilariously wonky bats that I secretly love even more than the perfect ones! We cut out anywhere from 30 to 50 bats in various sizes, from tiny one-inch bats to larger six-inch ones.
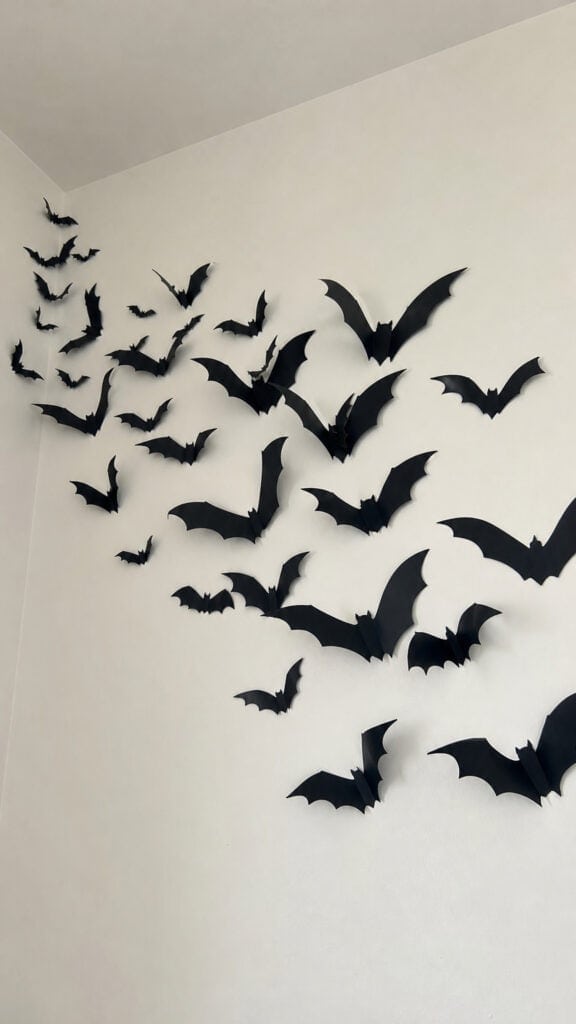
The real magic happens when you arrange them on your wall! I create a swooping, swirling pattern that looks like a colony of bats flying across the space. Start from one corner and let them “fly” across the wall in a curved, flowing pattern. Some people like to make them look like they’re emerging from behind furniture or flying up the stairs – get creative with it! I use small pieces of double-sided tape or removable adhesive dots to stick them up.
Here’s my pro tip: fold the wings slightly forward before attaching them to the wall. This creates a 3D effect that makes the bats look like they’re actually flying rather than just lying flat! The shadows they cast add so much depth and dimension. My youngest loves to count them every morning, and we’ve made it a tradition to add a few more bats each week leading up to Halloween. It’s become one of our favorite Halloween wall decor traditions!
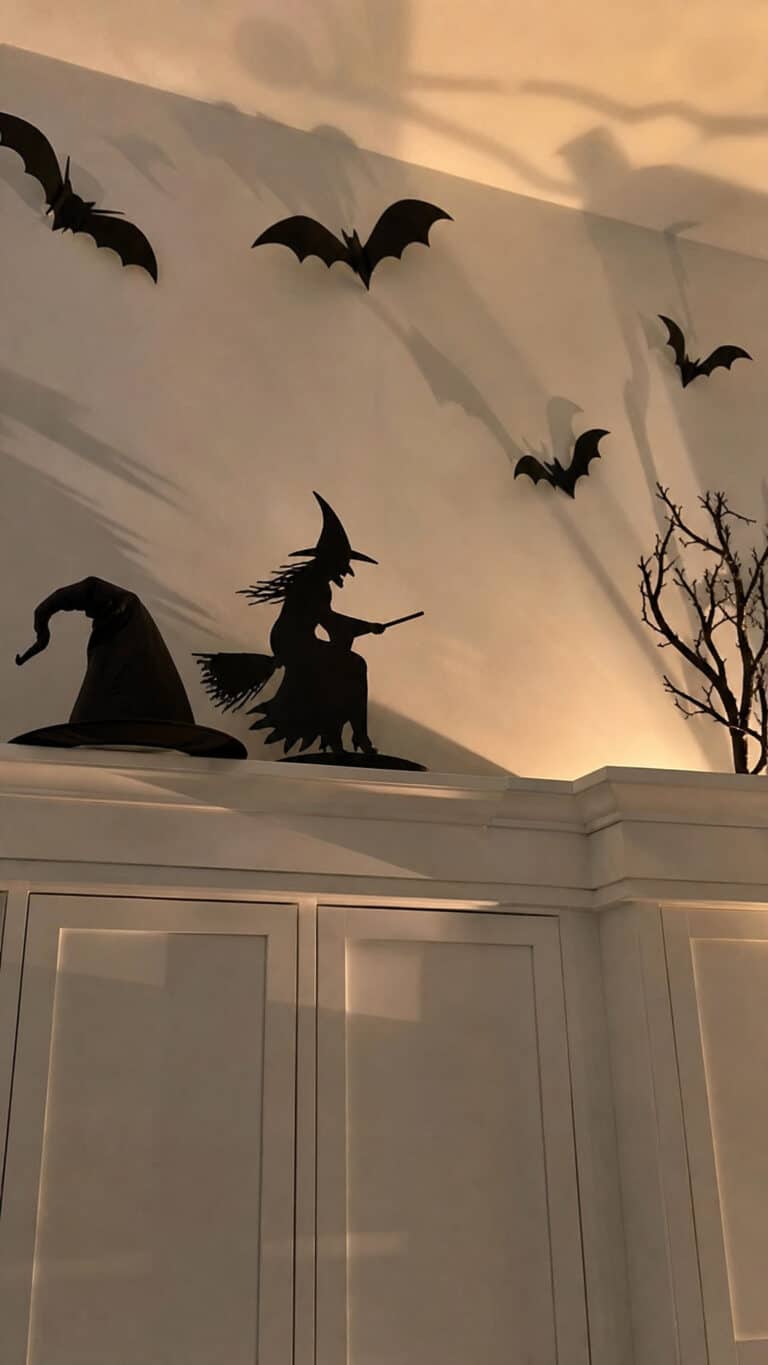
Spooky Silhouette Window Scenes
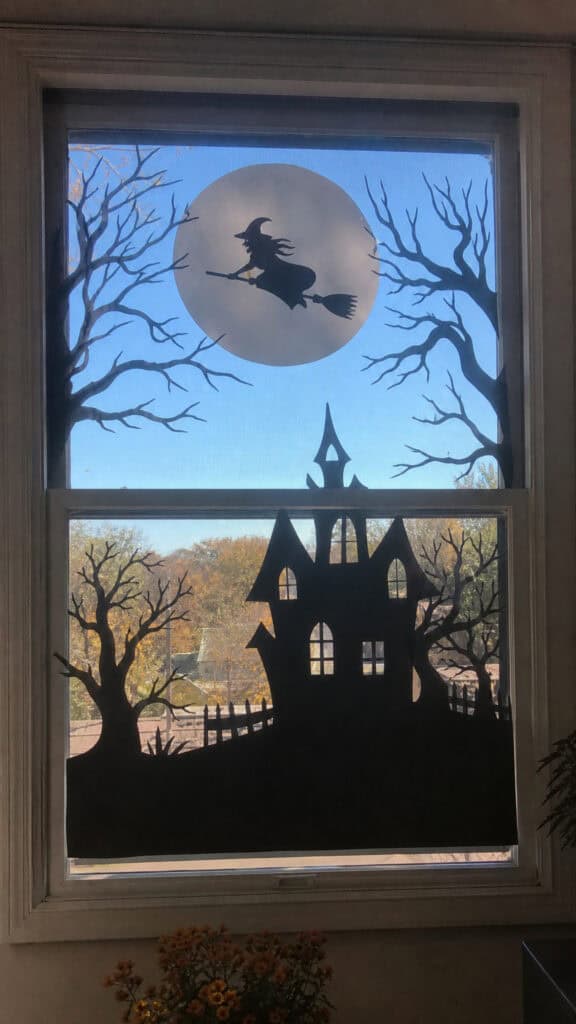
Windows technically count as wall space, right? Because this Halloween wall decor idea is too good not to share! Creating spooky silhouettes in your windows is incredibly effective, especially when lit from behind at night. I discovered this technique when I was looking for ways to make our house look festive from the outside without going overboard with yard decorations (because let’s be real, with three boys, I have enough to manage inside!).
The easiest way to create these silhouettes is with black contact paper or vinyl. You can find pre-cut designs at craft stores, or you can cut your own shapes – haunted houses, creepy trees, witches on broomsticks, cats with arched backs, or even a spooky graveyard scene. I like to create a layered scene across our front window that tells a little story. This year, we have a haunted house on one side, bare twisted trees in the middle, and a witch flying across the moon on the other side!
What makes this Halloween wall decor idea so effective is the dramatic contrast. During the day, the black silhouettes look striking against the natural light. But at night? When you have lights on inside your house, the silhouettes become even more dramatic and visible from the street. My boys love turning off all the lights except one lamp behind the window display to see the full effect – they call it our “shadow theater”!
If you want to take it up a notch, add some orange or purple LED lights behind the silhouettes for an extra spooky glow. I’ve also seen people use removable window markers to draw additional details, like adding glowing eyes to a haunted house or stars around a witch silhouette. The best part? Contact paper peels right off when Halloween is over, leaving no residue. I’ve reused the same silhouettes for two years now, just storing them on wax paper between seasons!
Hanging Ghost Garland Wall Display
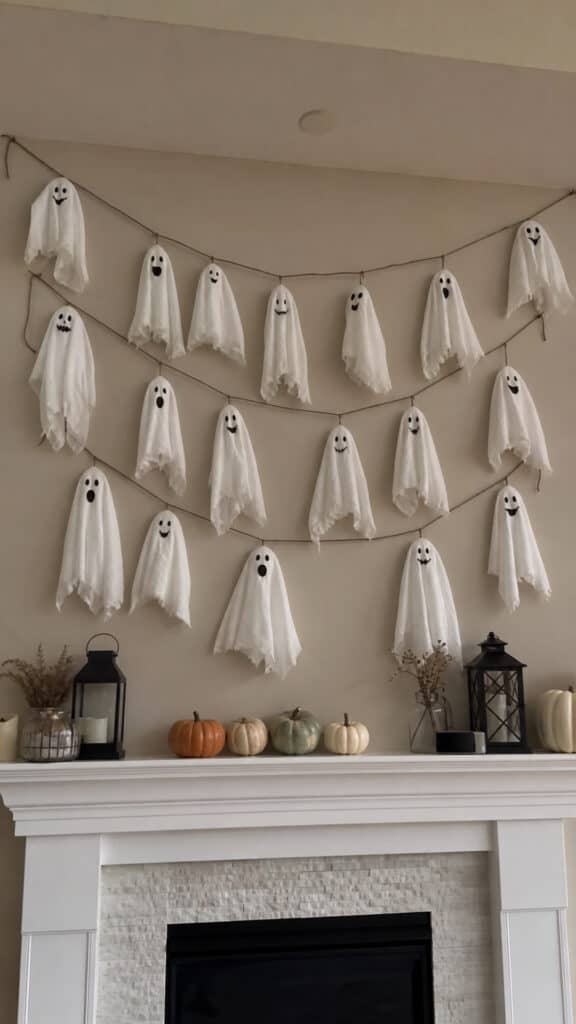
Okay, this Halloween wall decor idea is both adorable and slightly spooky – exactly my style! Ghost garlands are perfect for creating that festive atmosphere without being too scary for younger kids. My youngest is still a bit sensitive to super creepy decorations, so these friendly-faced ghosts are the perfect compromise. Plus, they’re ridiculously easy to make, which is essential when you’re juggling three kids’ schedules!
To make ghost garlands, you can use white felt, fabric, or even coffee filters for a budget-friendly option! I cut out simple ghost shapes – just a rounded top with a wavy bottom edge. Then we add faces using black markers or felt pieces. Some of our ghosts are smiling, some look surprised, and some have silly expressions that my boys insist on creating. The personality in each little ghost is what makes this decoration so charming!
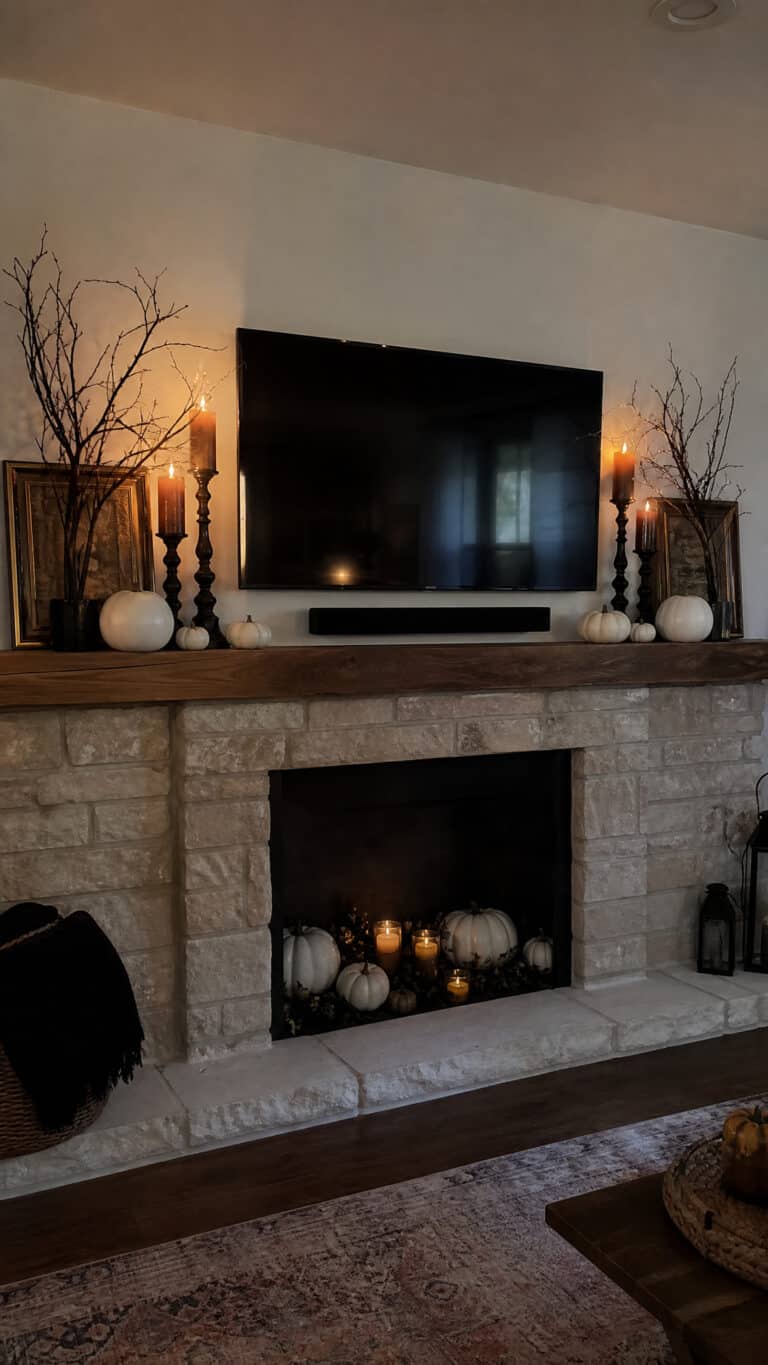
Once you have your ghosts ready, string them along white twine, ribbon, or fishing line. I like to space them about six inches apart and create multiple strands at varying lengths. Then I hang them across a wall, creating a cascading effect with the different lengths. It looks like a whole family of ghosts floating together! I’ve hung them above our fireplace mantel, across the dining room wall, and even in the boys’ bedroom for a fun but not-too-scary decoration.
You can customize this Halloween wall decor to match your style! Add small bows to make girl ghosts, give them witch hats, or even add tiny chains made from paper clips to make them look like they’re rattling chains. Some people add glow-in-the-dark paint to the ghosts so they illuminate at night – my boys would absolutely LOVE this, so that’s definitely on my list for next year! The garlands are also super lightweight, so they sway with any air movement, creating that perfect floating ghost effect.
Framed Halloween Quote Art
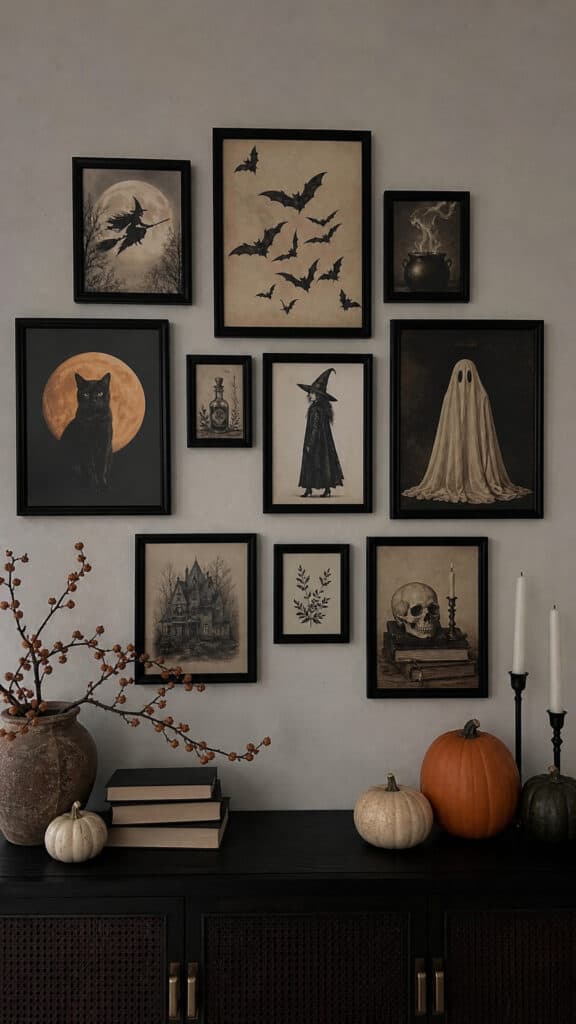
Sometimes the most sophisticated Halloween wall decor is also the simplest! I’ve fallen in love with creating framed Halloween quote art because it adds that seasonal touch without overwhelming the space. This is perfect for those of us who want to keep things a bit more elegant while still celebrating the season. I rotate out our regular wall art with Halloween-themed prints, and it makes such a difference in setting the mood!
You can find amazing free printables online with quotes like “Trick or Treat,” “Eat, Drink, and Be Scary,” “Boo Y’all,” or “Witch Please.” I love mixing vintage-style Halloween images with modern typography – it creates such a fun eclectic look! The best part is that you can print these at home on cardstock or have them printed at an office supply store for just a few dollars. Then pop them into frames you already have or pick up inexpensive frames from thrift stores.
I like to create a gallery wall specifically for Halloween! I’ll use five to seven frames in different sizes and arrange them on our living room wall. Mix in some Halloween-themed artwork – vintage witch illustrations, black cat silhouettes, or pumpkin prints – alongside the quote art. The combination creates a cohesive Halloween wall decor display that feels intentional and stylish rather than thrown together.
What I love about this approach is how easy it is to swap out! When Halloween is over, I simply switch the prints back to our regular artwork. The frames stay in the same arrangement, so there’s no nail holes to patch or walls to repaint. I store all my Halloween prints in a portfolio folder in our holiday decoration boxes, and they’re ready to go year after year. My boys even help me choose which quotes and images to display each season – it’s become a fun tradition that kicks off our October decorating!
Glowing Jack-o’-Lantern Wall Installation
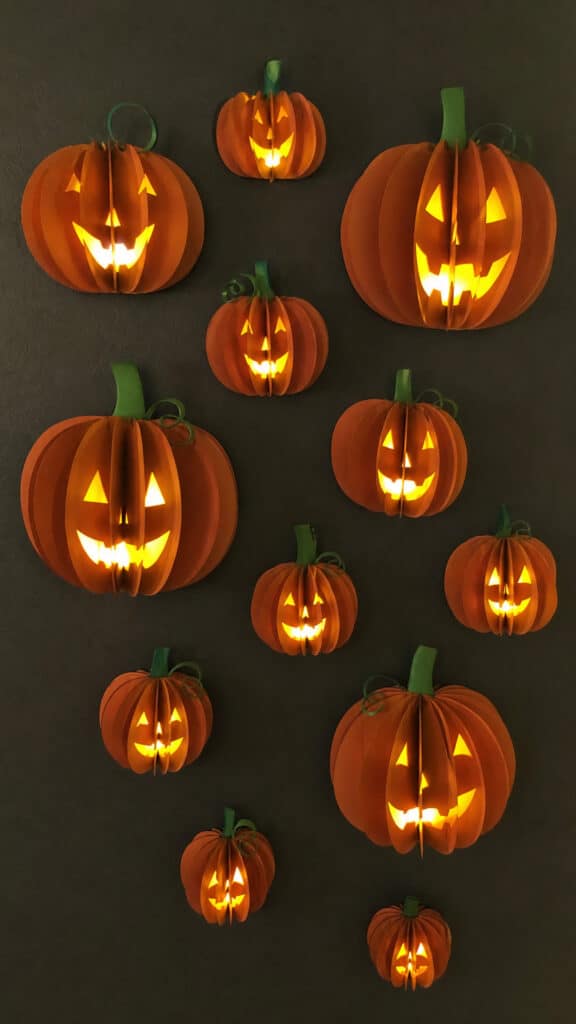
This Halloween wall decor idea brings all the pumpkin vibes without taking up any floor or table space – which is crucial in a house with three boys who are constantly running around and knocking things over! I created a wall of glowing jack-o’-lanterns using orange paper, LED tea lights, and a whole lot of creativity. The result is absolutely magical, especially when the sun goes down and those little lights start twinkling!
Here’s how I make them: I cut pumpkin shapes from orange cardstock or construction paper in various sizes. Then I cut out jack-o’-lantern faces – some traditional triangular eyes and toothy grins, some silly expressions, and some slightly spooky ones. The key is variety! Behind each face cutout, I attach a small LED tea light using tape or glue dots. When you turn on the lights, the faces glow just like real carved pumpkins!
I arrange these glowing pumpkins across a wall in our family room, creating a pumpkin patch effect. Some are clustered together, others are more spread out, and I vary the sizes to create visual interest. You can add green paper or felt stems and curly vines to make them look even more realistic. My middle son suggested we add paper leaves scattered around them, which was actually a brilliant touch!
The best part about this Halloween wall decor is that it’s completely safe! No real flames, no hot pumpkins, and no rotting gourds to deal with. The LED tea lights last for hours and hours on their tiny batteries. I turn them on every evening in October, and they create the coziest, most festive atmosphere. Guests always comment on how creative and charming they are. Plus, if you’re crafty, you can even make these with your kids – though I’ll warn you, it might take a bit longer with “help” from enthusiastic little hands!
Creepy Crawly Spider Web Corner Display
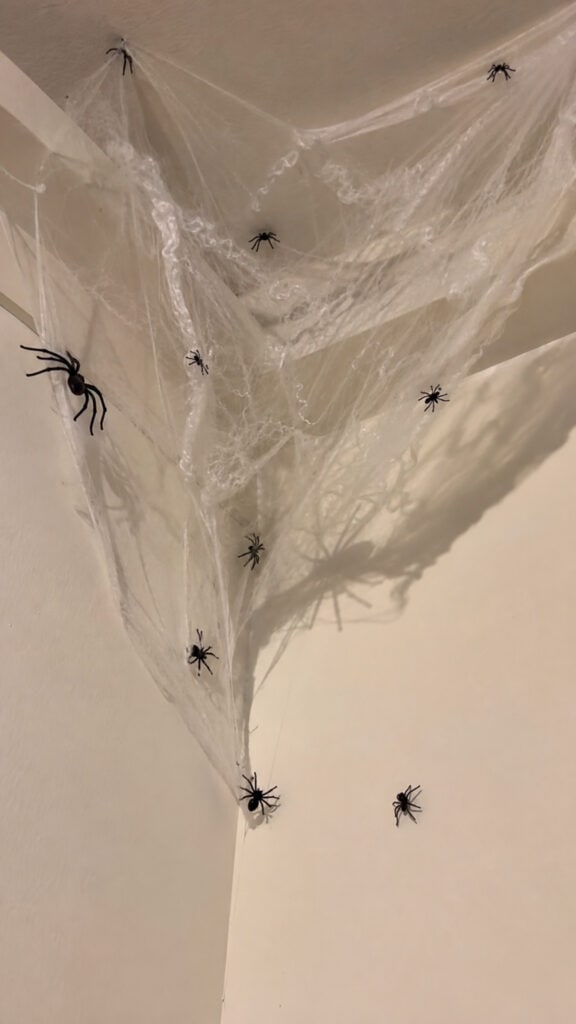
Every good Halloween wall decor collection needs something a little bit creepy, and spider webs definitely fit the bill! I’ve mastered the art of creating realistic-looking spider webs in the corners of rooms, and let me tell you, they add instant Halloween atmosphere. The first time I did this, my oldest son walked into the room and actually jumped – mission accomplished!
You can buy pre-made spider webs from any Halloween store, but I’ve found that the stretchy, cotton-like webs work best for wall corners. Pull them apart gently to create that wispy, realistic texture – don’t just plop them up in a ball! I start in the corner where the walls meet the ceiling and stretch the webbing outward, securing it with small pieces of clear tape or removable adhesive. The key is to make it look natural and slightly messy, like a real spider actually built it over time.
Of course, you can’t have spider webs without spiders! I add plastic spiders of various sizes throughout the webs. Some are big and dramatic, others are tiny and almost hidden – I love watching guests discover the little ones! You can find packs of realistic-looking spiders at dollar stores during Halloween season. For extra impact, I’ll add a few spiders crawling down the wall on fishing line, like they’re descending from their web. My boys think this is absolutely hilarious and love to point them out to everyone who visits!
This Halloween wall decor works especially well in corners, around door frames, or even stretching across a ceiling corner. I’ve also created webs around light fixtures (being careful not to touch the bulbs!) and picture frames. For a glowing effect, you can spray the webs lightly with glow-in-the-dark spray paint – just do this outside and let them dry completely before hanging. The webs catch the light beautifully and create amazing shadows. Just remember to remove them carefully at the end of the season so you can reuse them next year!
Bringing Halloween Magic Home
There you have it – my favorite Halloween wall decor ideas that transform our home every October! The wonderful thing about these projects is that most of them are budget-friendly, easy to create with kids, and make a huge visual impact. Whether you go all-out with multiple ideas or choose just one or two that speak to you, your walls will definitely reflect that festive Halloween spirit we all love!
Remember, decorating for Halloween should be fun, not stressful! Some years I’ve done elaborate displays, and other years (especially when the boys were all under five!) I kept it super simple. The goal is to create a space that makes your family smile and gets everyone excited for the season. Now if you’ll excuse me, I need to go referee a debate about whether our paper bats should fly left or right across the wall – the joys of decorating with helpers! Happy Halloween decorating!

This post may contain affiliate links. Read the full disclosure here.