Pine Cone Christmas Crafts That Are Budget-Friendly and Beautiful
As a busy mom of three energetic boys, I live for the magic of Christmas crafting. It’s that time of year when our home turns into a whirlwind of glitter and joy, and nothing beats getting the kids involved in hands-on fun. That’s why pine cone Christmas crafts are my go-to; they’re perfect for keeping those little hands busy while we create lasting holiday memories without spending a dime extra.
Last year, we had a blast foraging for pine cones right in our backyard. The boys dashed around, giggling as they filled baskets with the prickly treasures, turning a simple walk into an adventure. It was messy and chaotic, but seeing their excitement made it all worthwhile. Trust me, those free finds sparked hours of creativity that kept everyone smiling.
If you’re like me, juggling schedules and budgets during the holidays, these crafts fit right in. They’re simple to make with stuff you probably have at home, like glue, paint, and a bit of ribbon. No fancy supplies needed, just imagination and a warm spot by the tree.
In this post, I’ll share easy ideas that look stunning on your mantel or as gifts. From whimsical ornaments to cozy centerpieces, each one brings that natural charm to your decor. Get ready to dive into budget-friendly projects that wow without the wallet worry; your family will love them!

Gathering and Prepping Pine Cones for Your Holiday Projects

Before we jump into those fun pine cone Christmas crafts, let’s talk about the first step that makes everything come together: gathering and prepping your pine cones. As a mom of three wild boys, I always start here because it’s free and gets the kids outside running around. Last holiday season, we turned this into our big family hunt, and it sparked so much excitement for the crafts ahead!
Best Places to Hunt for Pine Cones Near Home

Finding pine cones doesn’t have to be a big trip. Stick close to home for spots that feel like treasure hunts for the kids. Our backyard works great; the boys love spotting them under our big pine tree after a windy day.
Parks nearby are another winner. Look for ones with evergreens, and head out in November when cones drop plenty before the ground freezes. It’s all free, which keeps our budget happy, and the adventure turns picky eaters into eager explorers.
Try these family-friendly ideas to make it fun:
- Your own yard or neighborhood trees: Check under pines after rain or wind shakes them loose. The boys race to fill their buckets, and we chat about what we’ll make next.
- Local parks or trails: Pick spots with paths kids can handle. November mornings work best; the air smells fresh, and you avoid crowds.
- School grounds or community green spaces: If your area allows, these offer easy access. Pack a snack, and let the little ones lead the way.
This hunt builds patience and joy. My boys still talk about the “cone chaos” we had one crisp afternoon!
Easy Cleaning Methods That Even Kids Can Help With

Once you’ve got your haul, cleaning them keeps things safe and ready for crafts. Pine sap can stick, so I always grab gloves for the boys; it turns the chore into a silly game with no sticky fingers.
Start simple with soaking. Fill a bucket with warm water and a splash of vinegar. Let the cones sit for an hour or two. This loosens dirt and bugs without much effort.
Rinse them next under cool water. Shake off extras gently. The kids giggle as they splash a bit, but keep it quick to stay dry.
For drying, pop them in the oven at low heat, around 200 degrees Fahrenheit, for about an hour. Spread them on a baking sheet with space between. Check often so they don’t brown. This kills any hidden critters and opens them up nicely.
Here’s a quick step-by-step the boys follow with me:
- Soak in the vinegar mix for an hour.
- Rinse and shake dry.
- Oven-dry low and slow.
Warn the kids about sap lightly; it’s sticky but washes off soap. Gloves make it fun and mess-free. After this, your pine cones shine for those holiday projects!
Simple Pine Cone Ornaments That Spark Holiday Joy

Now that your pine cones are clean and ready, let’s turn them into simple ornaments that add sparkle to our tree. These pine cone Christmas crafts bring that cozy, natural touch to the holidays, and my boys go wild for them. We hang them high where they catch the lights just right. Plus, they cost next to nothing since we use basic supplies from the craft drawer. I love how these projects fill our living room with laughter and a bit of glittery chaos!
Glittery Pine Cone Stars for the Tree Top
My boys adore this glittery pine cone project. It gets messy fast, but the shiny results make it worth every sparkle. We call them our tree-top stars because they twinkle like little holiday fireworks up there.
Gather these easy items first: clean pine cones, white glue, a tray of fine glitter in gold or silver, and some thin string or twine for hanging. Lay down newspaper to catch the fallout; trust me, it saves cleanup time.
Here’s how we make them step by step, with the kids right in the mix:
- Pour glue into a shallow bowl. Let each boy dip the tips of their pine cone into it. They love the sticky feel and often end up with glue on their noses too!
- Sprinkle glitter over the wet glue right away. Roll the cone gently in a tray of glitter for full coverage. Shake off the extra outside so it doesn’t drift everywhere.
- Tie a loop of string around the top scales of the pine cone. Knot it secure for hanging. Let everything dry on wax paper for a few hours.
The boys thrive on the mess; it’s like a glitter explosion in our kitchen. One time, my youngest dumped the whole glitter jar, but we laughed it off and kept going. Now those stars dangle proudly, catching eyes and smiles from everyone who visits. Hang a few at the top of your tree for that wow factor!
Painted Pine Cone Bells That Jingle with Cheer
These painted bells turn plain pine cones into jolly jingers that add sound to our decor. My three boys helped paint them last year, and it turned into a hilarious paint fight. We ended up with more color on their shirts than the cones, but the final bells rang with pure holiday cheer!
You’ll need acrylic paints in festive colors like red, green, and white, plus small jingle bells from your craft bin. Grab some yarn or ribbon for tying, and fine-tipped brushes for details. It’s all stuff we keep on hand, so no extra trips to the store.
Follow these steps to create your own:
- Base coat the pine cone with acrylic paint. Let the boys pick colors and slather it on; thin layers dry faster and look even.
- Once dry, add fun patterns like dots or stripes. Glue a jingle bell to the bottom tip with hot glue or strong craft glue. The boys fight over who gets to squeeze the glue gun!
- Cut yarn into 6-inch pieces. Loop it through the top of the cone and tie around the bell for a secure hold. Trim ends neatly.
That paint fight? It started when my middle boy flicked red paint at his brother, and soon we all had speckles. We paused to clean up, then finished strong. Now these bells hang from branches or the mantel, tinkling with every brush of air. They bring such lively joy to our home; try making a set and listen to the magic!
Budget Wreaths and Garlands from Pine Cones That Wow Guests

When it comes to pine cone Christmas crafts, nothing beats wreaths and garlands that add that warm, welcoming touch to our home. As a mom of three rambunctious boys, I love how these projects turn our front door and windows into holiday showstoppers without breaking the bank. Last Christmas, we made a bunch of these, and our neighbors stopped by just to snap photos! They look fancy, but they’re simple to whip up with pine cones we’ve gathered ourselves. Plus, the boys get to help, which means lots of giggles and a few glue mishaps along the way.
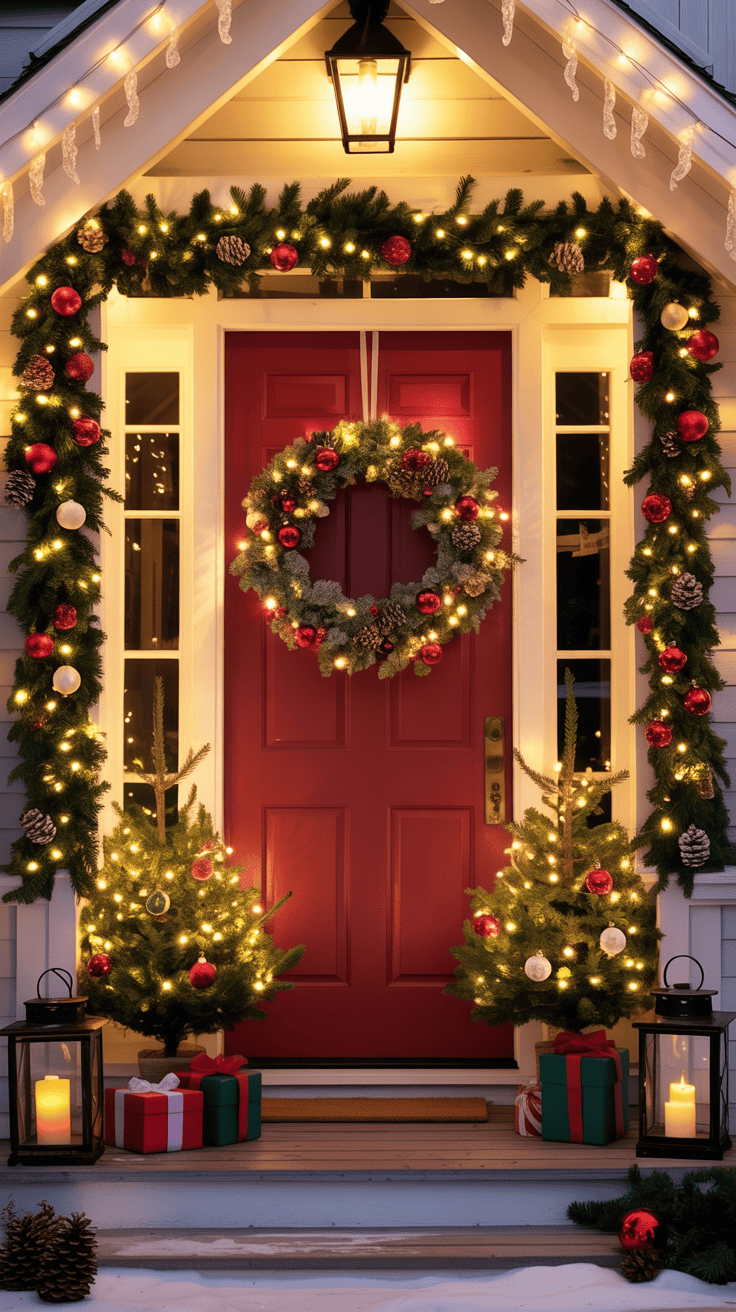
DIY Pine Cone Wreath for Your Front Door
Our front door wreath always steals the show during the holidays. It’s that first thing guests see, and with pine cones, it screams cozy Christmas cheer. I made one last year using a basic foam ring from the dollar store, and it held up great through all the wind and rain. The boys thought it was like building a giant pine cone puzzle!
Start with your base. Grab a foam wreath ring or even a sturdy wire hanger bent into a circle if you’re keeping it super cheap. These cost under five bucks, or skip them altogether if you have an old embroidery hoop lying around. Hot glue works best for attaching, but craft glue does the trick too for little hands.
Next, layer on the pine cones. Pick medium-sized ones that fit nicely without gaps. Glue them pointing outward around the ring, starting at the bottom and working up. Overlap a bit for fullness; it hides the base completely. My oldest boy glued the biggest cones while the younger ones handled the smaller ones. They had a contest to see who could stick the most without it falling off!
Add some faux greens for color. Snip bits from dollar store picks or use clippings from our backyard evergreens. Tuck them between the cones and secure with glue. A red bow at the top ties it all together; ribbon from last year’s wrapping works fine. If you have berries or nuts on hand, sprinkle those in too. The budget tip here? Use what you already own. We skipped buying extras and just added twigs from our yard, which gave it that fresh, natural look.
Hang it with a simple hook or nail. Step back and admire how it transforms the entryway! Ours lasted the whole season, and the boys still point it out when we drive up. Guests always comment on how inviting it feels.
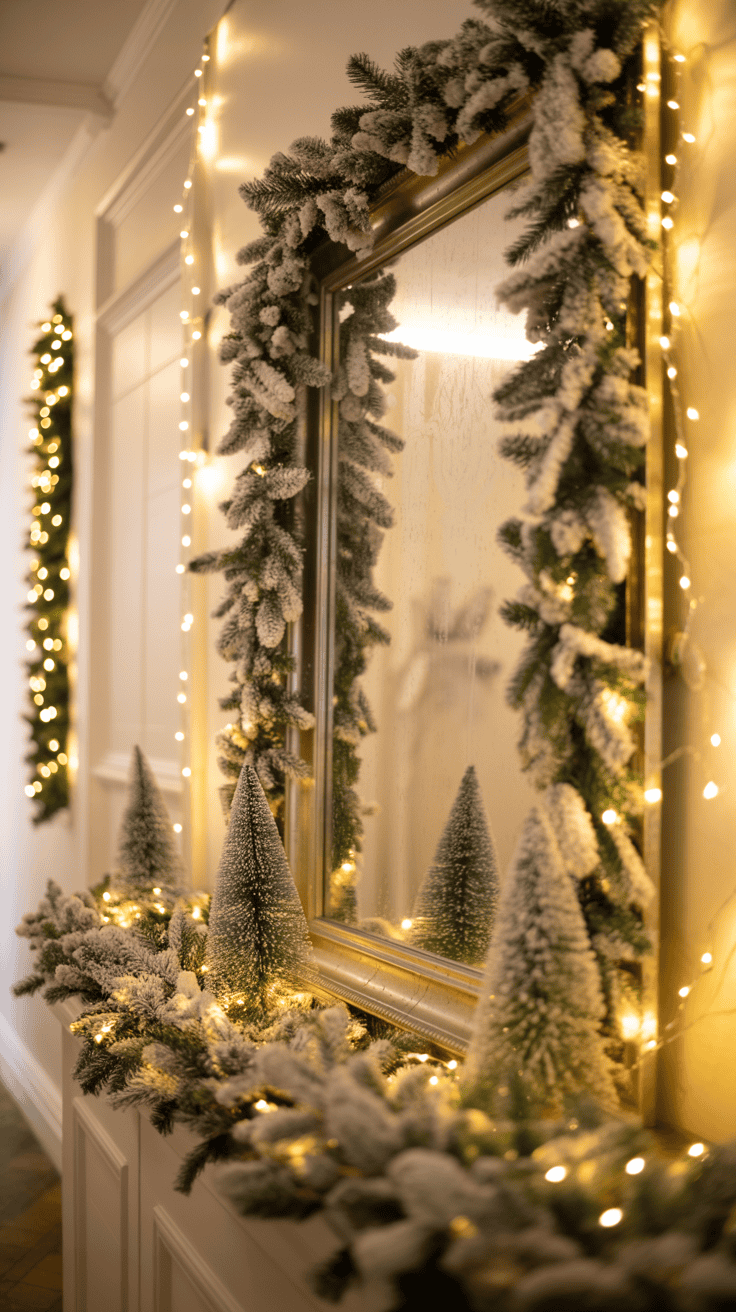
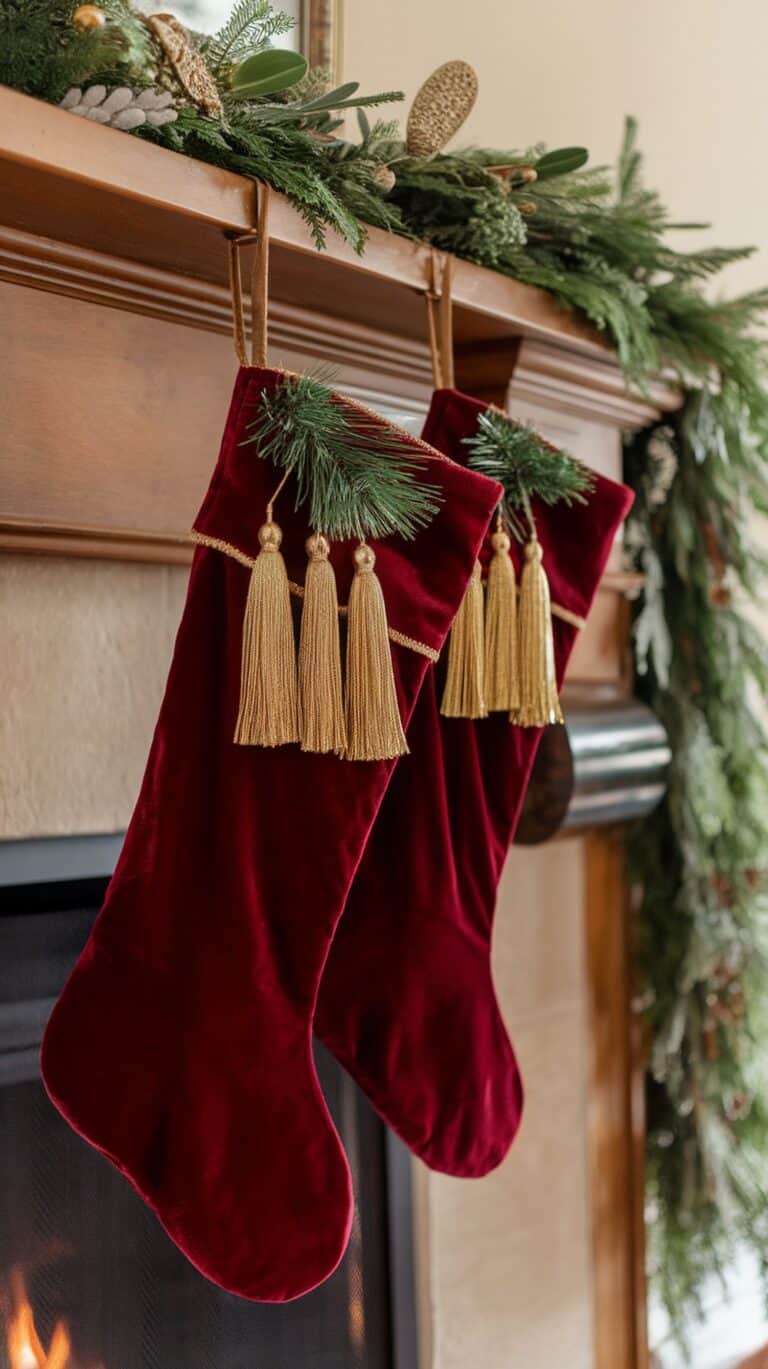
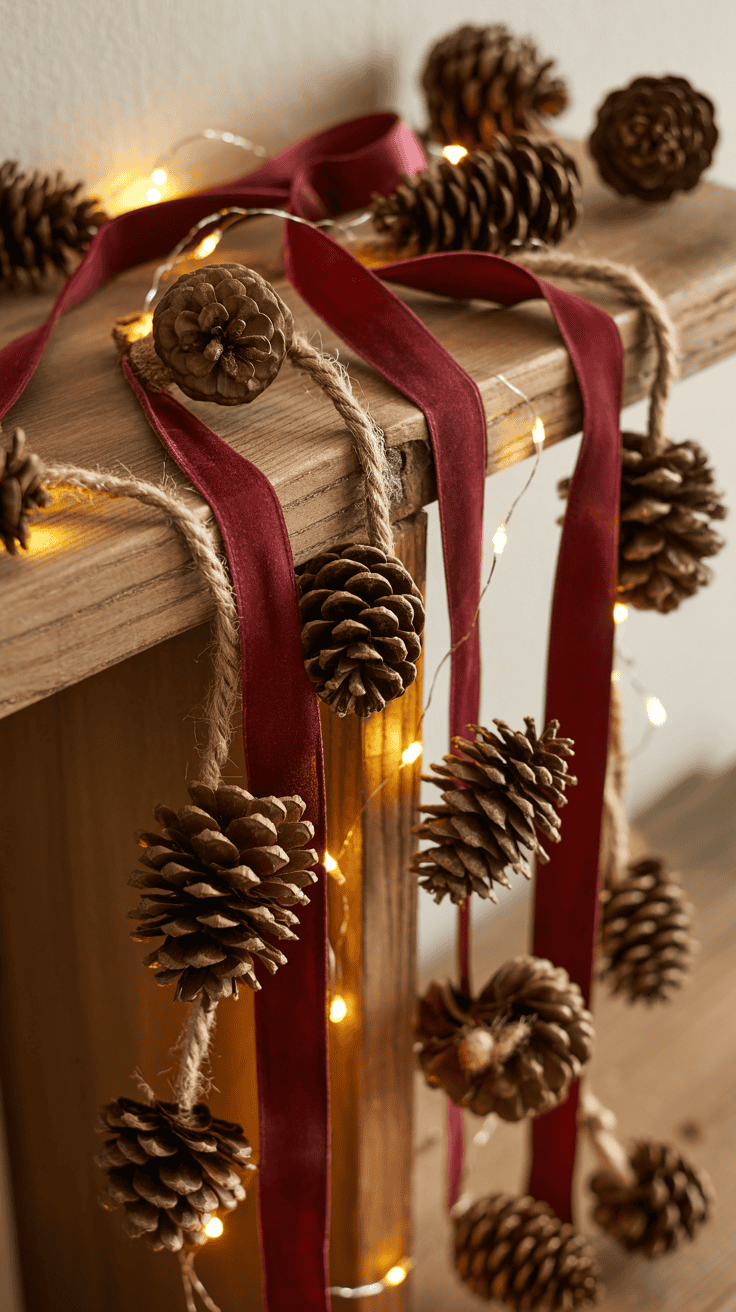
Twinkling Pine Cone Garland to Drape Anywhere

Garlands are my secret weapon for quick holiday sparkle. Drape one over the mantel or window, and suddenly the room feels festive. This pine cone version is easy, and the boys love stringing them like a giant necklace. We added lights last year for extra twinkle, but you can keep it plain for a rustic vibe.
Begin with the stringing method. Use heavy twine, yarn, or fishing line for strength; about 6 to 8 feet gives plenty of length for most spots. Thread a needle if the holes in your pine cones are tight, or just poke through the scales with the string. Space the cones 4 to 6 inches apart to let them dangle nicely. My middle boy took charge of this part, and he beamed when it didn’t tangle!
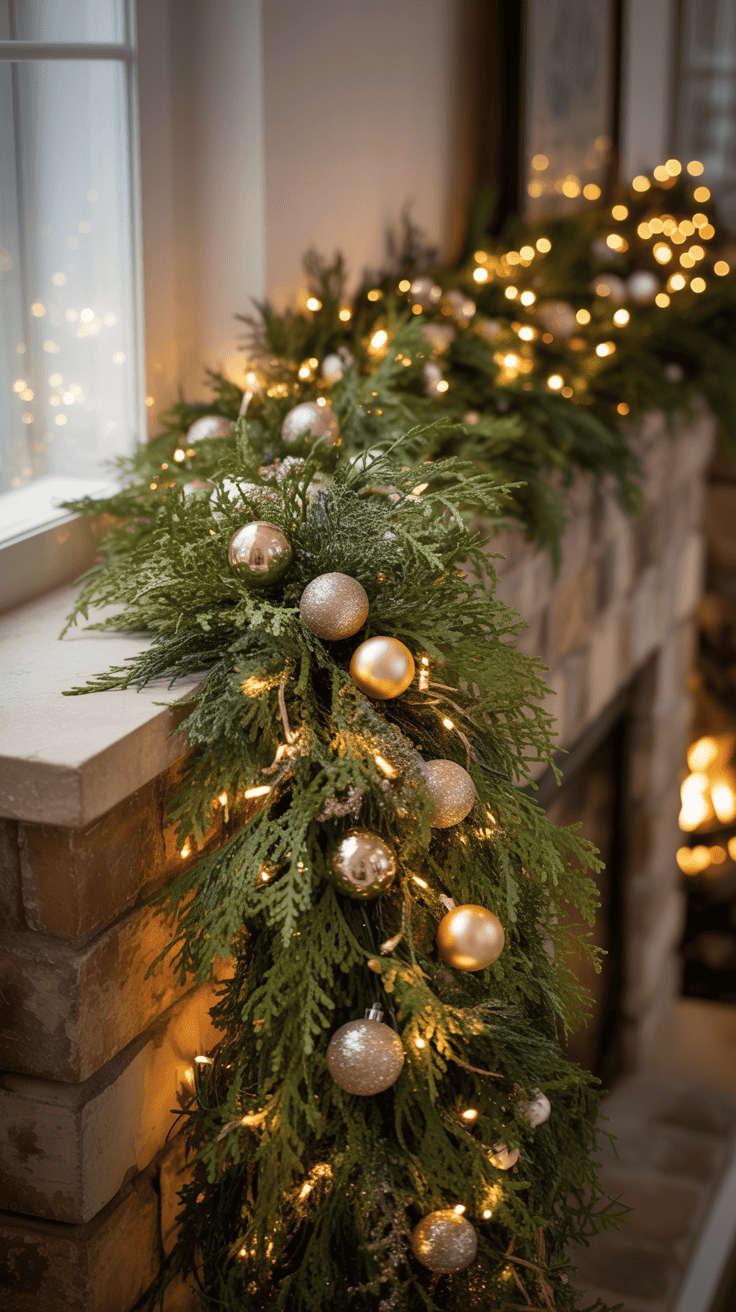
Attach about 10 to 15 cones per garland. Vary sizes for interest; big ones in the middle, smaller at the ends. Tie knots between each to keep them secure. If you want that twinkling effect, weave in battery-powered fairy lights. Wrap the string lights loosely around the twine before adding cones, or clip tiny ones to the bottom of each pine cone. It’s optional, but oh, does it make the whole thing glow!
Keep it simple for indoor use. No need for heavy ornaments that could scratch surfaces. We hung ours across the living room window, and the soft lights danced on the walls at night. The boys helped drape it, turning bedtime into a light show. If outdoors, seal the string with a bit of glue to weatherproof.
One fun twist: add cinnamon sticks or dried orange slices between cones for a cozy scent. It fills the air with holiday warmth! These garlands pack away easy too, ready for next year. Trust me, once you make one, you’ll want them everywhere.
Creative Pine Cone Centerpieces for Christmas Tables
As we gather around the table for holiday meals, nothing sets a festive tone like these pine cone Christmas crafts turned into eye-catching centerpieces. My three boys and I love how they bring the outdoors in, adding warmth and whimsy without any big spending. We made a set last Christmas, and the kids beamed as they helped arrange them right in the middle of our dinner spread. These ideas are simple, safe for little helpers, and perfect for creating that magical glow during family feasts!
Rustic Pine Cone Candle Holders That Set the Mood

Candle holders from pine cones add such a soft, flickering light to our Christmas table. I remember the first time my boys and I tried this; their eyes lit up as we watched the flames dance safely inside the cones. It’s a cozy project that feels rustic and inviting, and it keeps the kids engaged without much fuss.
Start by picking sturdy, medium-sized pine cones with a nice open shape. You’ll need tea lights or small votives, plus a sharp knife or drill for hollowing. Safety comes first, especially with the boys around. I supervise closely and let them handle the glue part while I do the cutting. Wear gloves to avoid sap, and work on a stable surface outdoors if possible to dodge resin smells.
For hollowing tips, gently score the center scales at the base with a knife to create an entry point. Use a small spoon or the drill bit to scoop out just enough space for the candle, about half an inch deep. Don’t go too far, or the cone might crack; test with your thumb first to check stability. My oldest boy practices on extras, which builds his confidence. Once hollowed, wipe inside with a damp cloth and let it dry fully to prevent moisture issues.
To add scents naturally, tuck in bits of cinnamon sticks or dried cloves around the candle base before lighting. You can also rub a few drops of pine or vanilla essential oil on the outer scales. No need for fancy sprays; these keep it simple and fresh. The aroma mixes with the candle wax for a homemade holiday scent that fills the room!
Place them on a heat-safe tray in the table’s center, spaced a few inches apart. We added faux greenery between ours for extra pop. The boys love watching the glow, and it makes our meals feel special. Just blow out candles when leaving the table to stay safe.
Mini Pine Cone Christmas Trees as Fun Favors

These tiny pine cone trees double as adorable centerpieces and take-home favors that delight everyone. My boys go crazy for them at kids’ tables; stacking the cones feels like building mini forests, and they end up playing with them long after dinner. It’s a budget win since small cones are easy to find and decorate with bits from home.
Hunt for small, uniform pine cones, about the size of your palm or smaller. You’ll need hot glue or craft glue, plus green paint, tiny stars or beads for tops, and maybe some sequins. The boys help sort them by size, turning prep into a game. Aim for three to five cones per tree to keep them stable and cute.
Stacking starts with the largest cone at the base. Apply a dot of glue to the bottom scales and press the next cone on top, centering it for balance. Work up to the smallest at the peak. Hold each layer for 30 seconds until set; my middle boy times it with his watch, which makes him feel like a pro. If they wobble, add a flat wooden disc or cork under the base for steadiness. Paint the stacks green after gluing, or wrap with yarn for texture. Let dry overnight so colors pop.
Decorating keeps it fun and personal. Glue on mini ornaments like beads or pom-poms along the “branches.” Top with a gold star from craft foil. For kids’ tables, we make a row of these as a centerpiece forest, surrounded by candy canes. The little ones grab them as favors, and they last weeks as playthings!
Group five or six trees on a platter with moss or nuts for scatter. It creates instant holiday charm without clutter. Last year, our guests raved about the whimsy, and the boys proudly handed them out. These little trees spark joy and make every table feel merry!
Tips to Make Your Pine Cone Crafts Last and Shine Brighter

After all the fun we have making these pine cone Christmas crafts, I hate to see them fade or fall apart too soon. As a mom of three young boys who dive into every project with full energy, I learned the hard way that a few simple tricks keep our creations looking fresh through the holidays and beyond. Last year, our glittery ornaments stayed sparkly right up to New Year’s because we took these steps together. It turns the end of crafting into another family adventure!
Sealing Your Pine Cones to Protect Against Wear
Sealing gives your pine cone crafts that extra shield against dust and handling. My boys get so excited to touch everything, so this step saves us from constant touch-ups. We use a clear spray sealant from the craft store; it costs just a few dollars and lasts for years.
Start by laying your finished crafts on newspaper in a well-ventilated spot. Shake the can well, then spray a light coat from about 10 inches away. Let it dry for 20 minutes, and add one or two more coats for better protection. The boys take turns spraying under my watch; they love the misty sound it makes!
For natural options, mix equal parts water and white glue in a spray bottle. Mist it on lightly and let air dry. This works great for wreaths or garlands that hang outside. We sealed our front door wreath this way, and it held up through rainy days without losing color. Just avoid heavy glue on delicate spots like painted bells to keep them from getting sticky.
One tip I swear by: do this after all decorations are on but before hanging. It locks everything in place. Our candle holders still smell like fresh pine months later!
Smart Storage Ideas to Keep Crafts Ready for Next Year

Storing your pine cone Christmas crafts right means they come out looking new each season. With three boys, our holiday bins fill up fast, so I keep it organized and fun. We label boxes together, turning cleanup into a game.
Use breathable boxes or bins to avoid moisture buildup. Line them with tissue paper, and wrap each piece loosely. For ornaments, hang them on cardboard cutouts with hooks to prevent crushing. My youngest boy draws labels like “Glitter Stars” to make it exciting.
Keep them in a cool, dry spot like a closet or attic. Avoid basements where dampness can sneak in. We store our garlands rolled gently around tubes from paper towels; it stops bends and breaks. Last year, this trick kept our twinkling garland tangle-free and ready to drape again.
If bugs worry you, add a few cedar blocks or lavender sachets. They smell nice and deter pests naturally. The boys help tuck them in, and it feels like packing treasures. Pull them out in November, and you’ll smile at how bright they still shine!
Quick Revival Tricks for Faded or Dusty Pieces
Even the best-kept crafts pick up dust over time. I have a few revival methods that bring our pine cone projects back to life without much work. It’s perfect for busy moms like me who want that holiday magic to last.
Dust them gently with a soft brush or compressed air can. For glitter loss, touch up with a tiny bit of glue and fresh sparkles. My middle boy handles this part; he focuses like a pro and adds his own flair sometimes!
For faded paint, wipe with a damp cloth and reapply a thin coat of acrylic. Let it dry fully before sealing again. We revived our painted bells this way after a year in storage, and they jingled like new. If scents fade from centerpieces, rub on a drop of essential oil like cinnamon. It perks them right up!
Do these touch-ups as a family ritual before the season starts. The boys get proud seeing their old crafts sparkle again. Trust me, it saves money and brings back those joyful memories in a flash!

Conclusion
Looking back on our pine cone Christmas crafts, I can’t help but smile at the joy they brought to my three boys and me this holiday season. We turned simple backyard finds into beautiful ornaments, wreaths, and centerpieces that filled our home with warmth and sparkle, all without spending much at all. The laughter from our glitter messes and glue adventures made every moment special; these crafts prove you don’t need a big budget to create stunning holiday magic.
The best part? They’re easy enough for little hands to help, building memories that last longer than the decorations themselves. If you’re a busy parent like me, grab some pine cones and try one of these ideas with your family this year. It’ll bring that cozy cheer right to your doorstep!
I’d love to see what you make; share your photos in the comments or on social media. Let’s spread the holiday fun together!
This post may contain affiliate links. Read the full disclosure here.