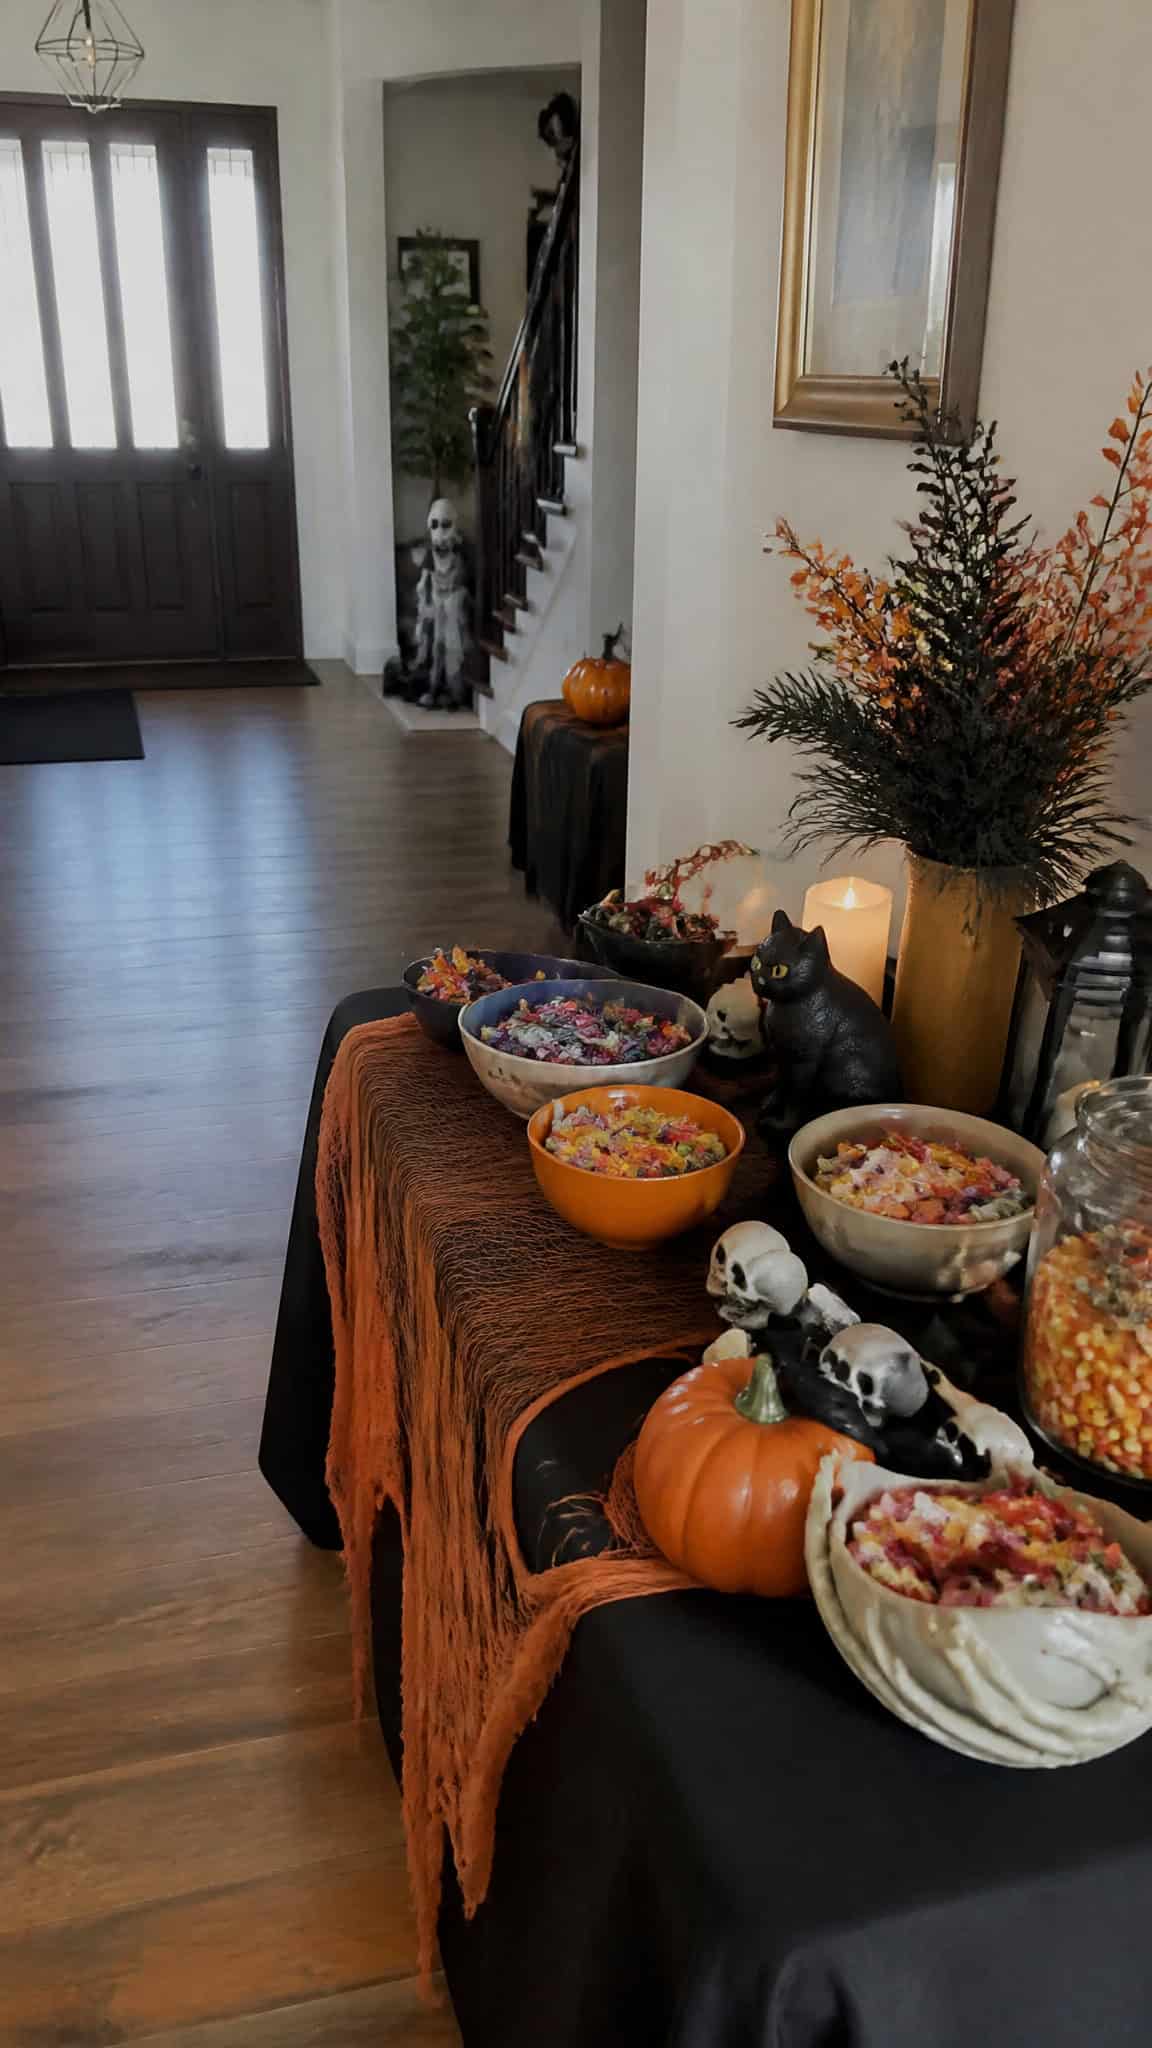
How To Create a Halloween Trick or Treat Table for Guests
Setting up a Halloween trick or treat table has become one of my absolute favorite traditions since having my three boys! There’s something magical about watching their faces light up when they see a table overflowing with candy and treats, and honestly, it makes hosting so much easier than answering the door every five minutes while trying to wrangle kids in costumes.
Whether you’re hosting a Halloween party, having friends over for a small gathering, or just want to create a special experience for your own kiddos and their friends, a well-designed halloween trick or treat table is the perfect solution! It’s like bringing the neighborhood trick-or-treating experience right into your home, and trust me, once you try this setup, you’ll never go back to the traditional candy bowl.
Choosing the Perfect Location for Your Halloween Trick or Treat Table
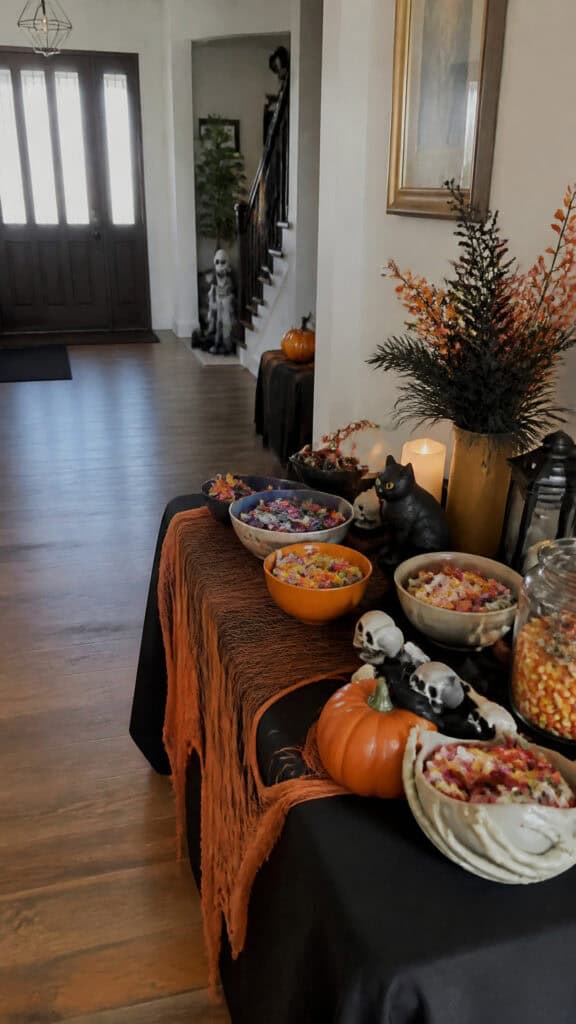
The first step in creating an amazing halloween trick or treat table is finding the right spot in your home! I’ve learned through trial and error (and three energetic boys) that location really does matter when it comes to party success.
Look for a space that’s easily accessible but won’t create a traffic jam. My favorite spot is right inside our front entryway or in the dining room where there’s plenty of room for kids to gather without blocking doorways. You want enough space for several children to approach the table at once because let me tell you, they will swarm it like bees to honey!
Consider the flow of your party or gathering. If you’re hosting a larger event, placing your table near the entrance works beautifully so guests can grab treats as they arrive or leave. For smaller gatherings, a central location like the kitchen or living room keeps the energy focused and makes supervision easier.
Make sure there’s adequate lighting in your chosen spot! You want kids to see all the goodies you’ve laid out. Natural light during daytime parties is perfect, but for evening events, add some extra lamps or even battery-operated string lights to brighten things up while keeping that spooky atmosphere.
Don’t forget about protecting your furniture! I always put down a plastic tablecloth or protective covering first because candy wrappers, sticky fingers, and enthusiastic kids are a recipe for messes. Trust me on this one – I’ve cleaned melted chocolate off my good dining table more times than I’d like to admit!
Selecting the Right Table and Essential Supplies
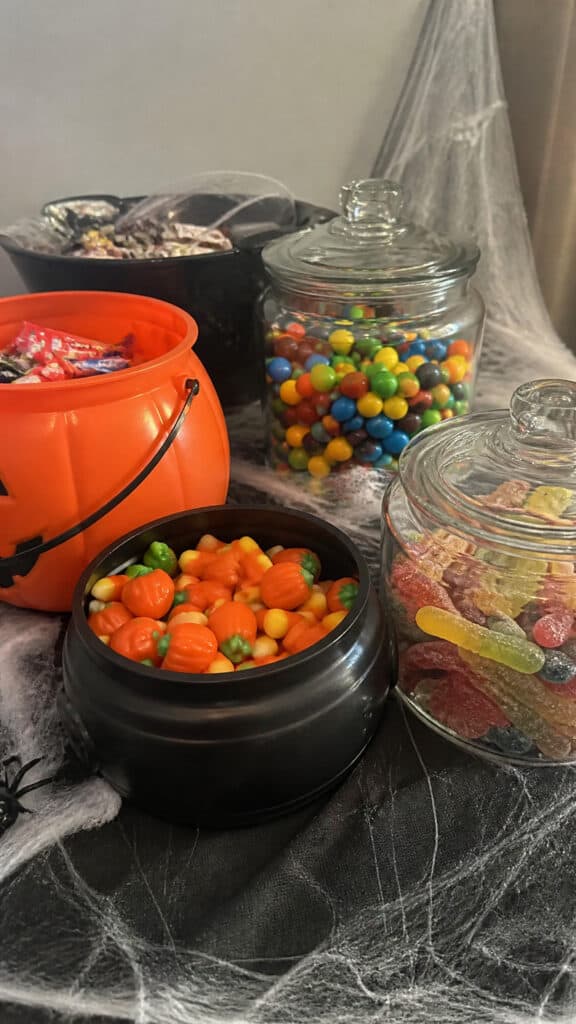
You don’t need anything fancy for your halloween trick or treat table – I’ve used everything from our regular dining table to a folding card table, and they all work great! The key is choosing something that’s the right height for your guests, especially if most of them are little ones.
For younger children (like my crew!), a standard dining table height works perfectly, but you might want to consider a slightly lower table if most of your guests are toddlers. A kids’ activity table or a folding table with adjustable legs can be ideal for really little trick-or-treaters who might struggle to reach a full-height table.
Here’s my essential supplies list that I pull out every Halloween:
- A sturdy table (folding tables work great and are easy to store!)
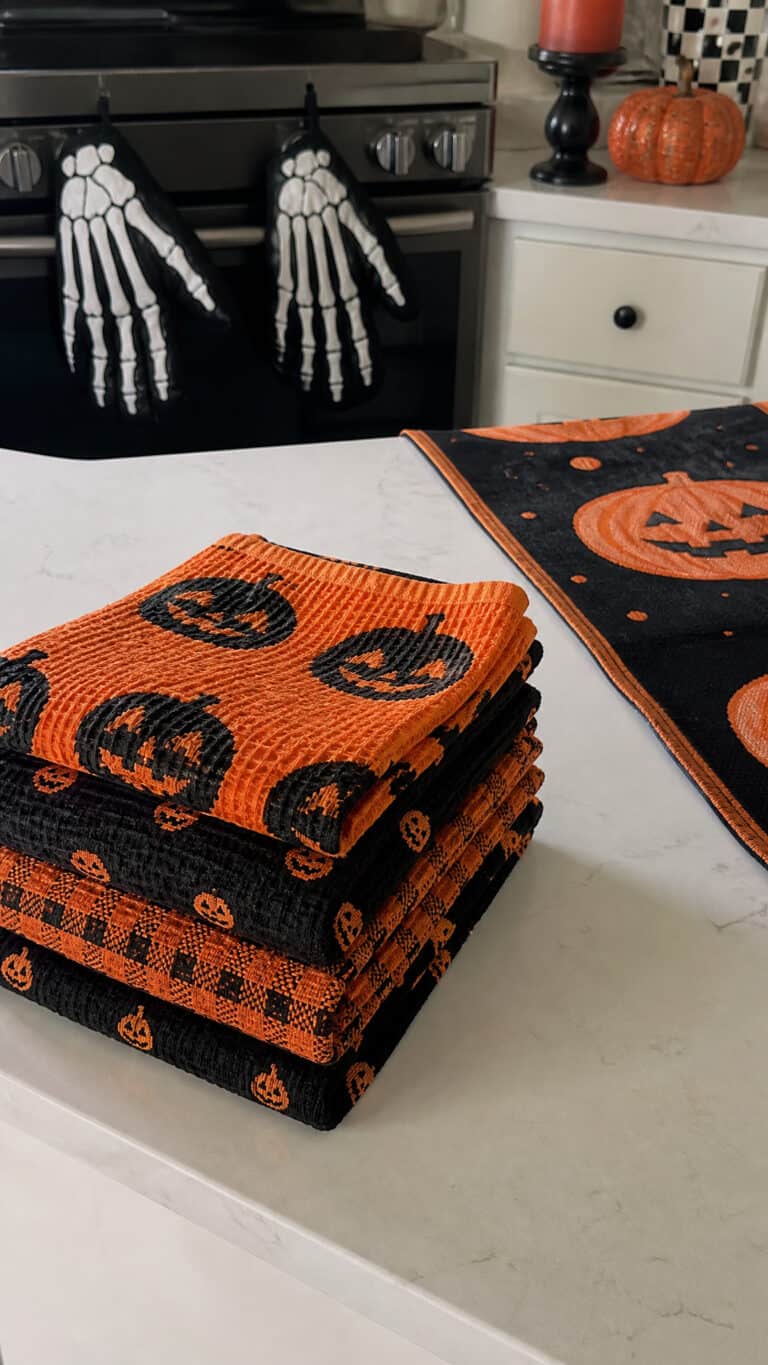
- Plastic or fabric tablecloth in Halloween colors – orange, black, purple, or even a fun printed design
- Multiple bowls, cauldrons, or containers for candy separation
- Tongs or scoops for sanitary candy serving (especially important these days!)
- Small bags, buckets, or containers if guests don’t have their own
- Decorative elements like fake spider webs, plastic spiders, mini pumpkins
- Name cards or labels for different candy types (super helpful for allergy awareness!)
I’m a huge fan of using different sized containers because it creates visual interest and makes the table look more abundant! Mix large cauldrons with small decorative bowls, and use varying heights by placing some containers on overturned boxes covered with your tablecloth.
One game-changer for me has been using clear containers when possible. Kids can see exactly what’s inside, which reduces the grabbing and digging that can create chaos. Plus, it just looks more appealing when you can see all those colorful candies!
Stocking Your Table with Treats and Candy Variety
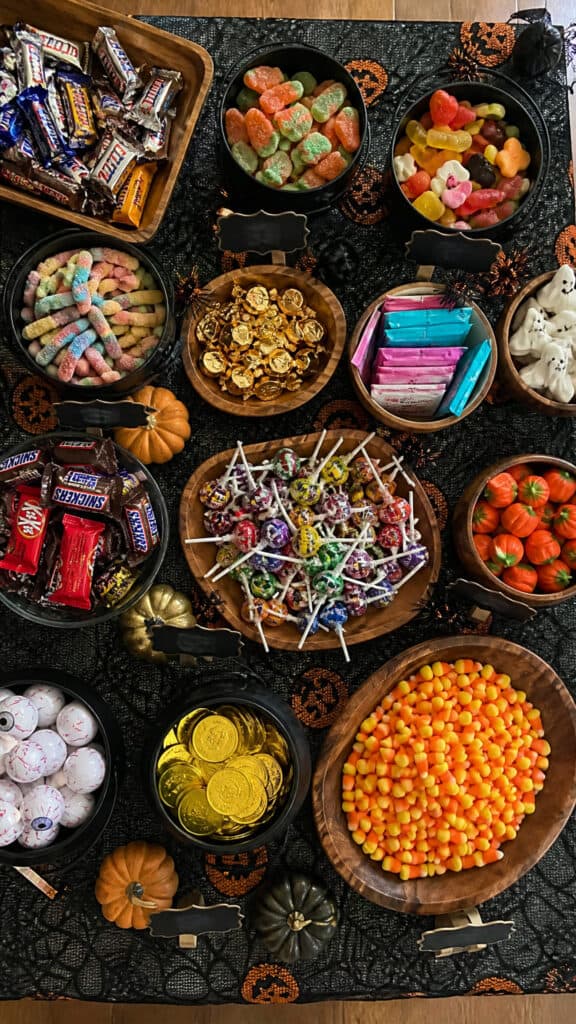
This is the fun part – choosing what goes on your halloween trick or treat table! I always aim for variety because kids (and let’s be honest, adults too!) have such different preferences, plus you need to consider allergies and dietary restrictions.
Start with the classics that never fail: fun-size chocolate bars are always a hit in our house! I stock up on mini Snickers, Milky Ways, Reese’s Cups, and Kit Kats. My middle son would live on Reese’s if I let him! Then add some non-chocolate options like Skittles, Starburst, lollipops, and gummy candies.
Here’s how I organize candy selection by category:
- Chocolate lovers: Mini candy bars, peanut butter cups, chocolate coins, Hershey’s Kisses
- Fruity favorites: Skittles, Starburst, Nerds, Smarties, Jolly Ranchers
- Chewy options: Gummy bears, gummy worms, Airheads, Tootsie Rolls
- Allergy-friendly: Dum Dum lollipops, Smarties, Swedish Fish (check labels for allergen-free options!)
- Non-candy treats: Stickers, temporary tattoos, glow sticks, small toys, pencils
I cannot stress enough how important it is to include non-candy options! Some kids have severe allergies, dietary restrictions, or parents who limit sugar. Having a dedicated bowl of non-candy treats ensures every child leaves happy. Plus, my boys sometimes get more excited about glow sticks than candy anyway!
Consider creating a separate “allergy-friendly” section on your table and clearly label it. I use a small sign that says “Allergy-Friendly Treats” and stock it with items that are free from common allergens. This has been such a relief for parents of kids with food allergies!
As for quantities, I typically plan for about 3-5 pieces per guest, but I always buy extra because you never know who might show up! Plus, leftover Halloween candy has never been a problem in my house – it mysteriously disappears within days!
Creating Spooky and Festive Decorations
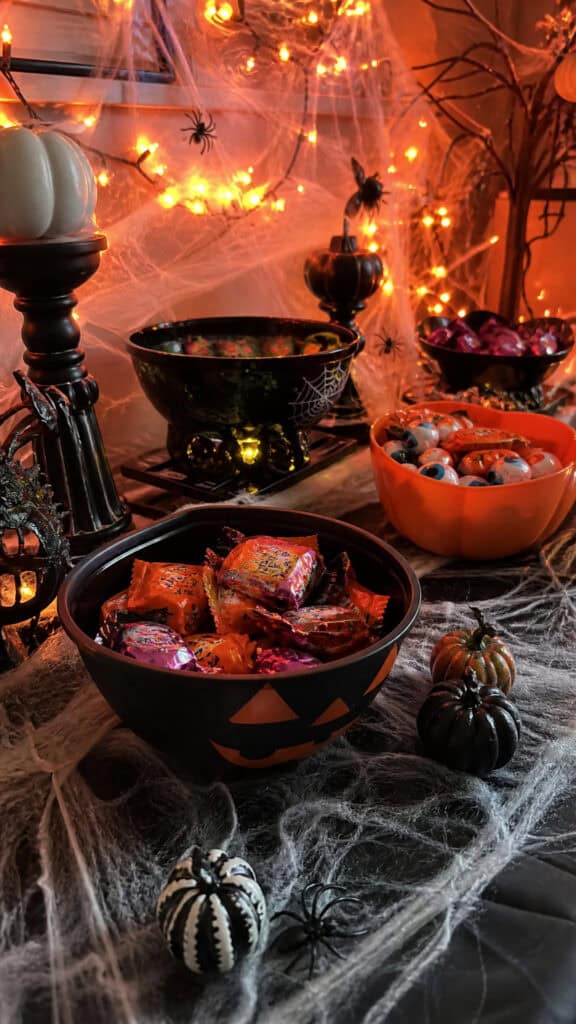
Decorating your halloween trick or treat table is where you can really let your creativity shine! This is honestly my favorite part because even simple touches can transform an ordinary table into something magical that makes my boys gasp with excitement.
Start with your tablecloth as the foundation – I love using a black tablecloth as the base and then layering orange or purple runners on top for dimension. You can also find amazing Halloween-printed tablecloths with ghosts, pumpkins, or spider webs that instantly set the mood!
Fake spider webs are your best friend and so inexpensive! I stretch them across the table, drape them over candy bowls, and tuck plastic spiders throughout. My youngest loves helping with this part, though he does tend to get a bit tangled up in the webbing! Just pull the webbing apart to make it look wispy and realistic rather than clumpy.
Here are my go-to decoration ideas that always impress:
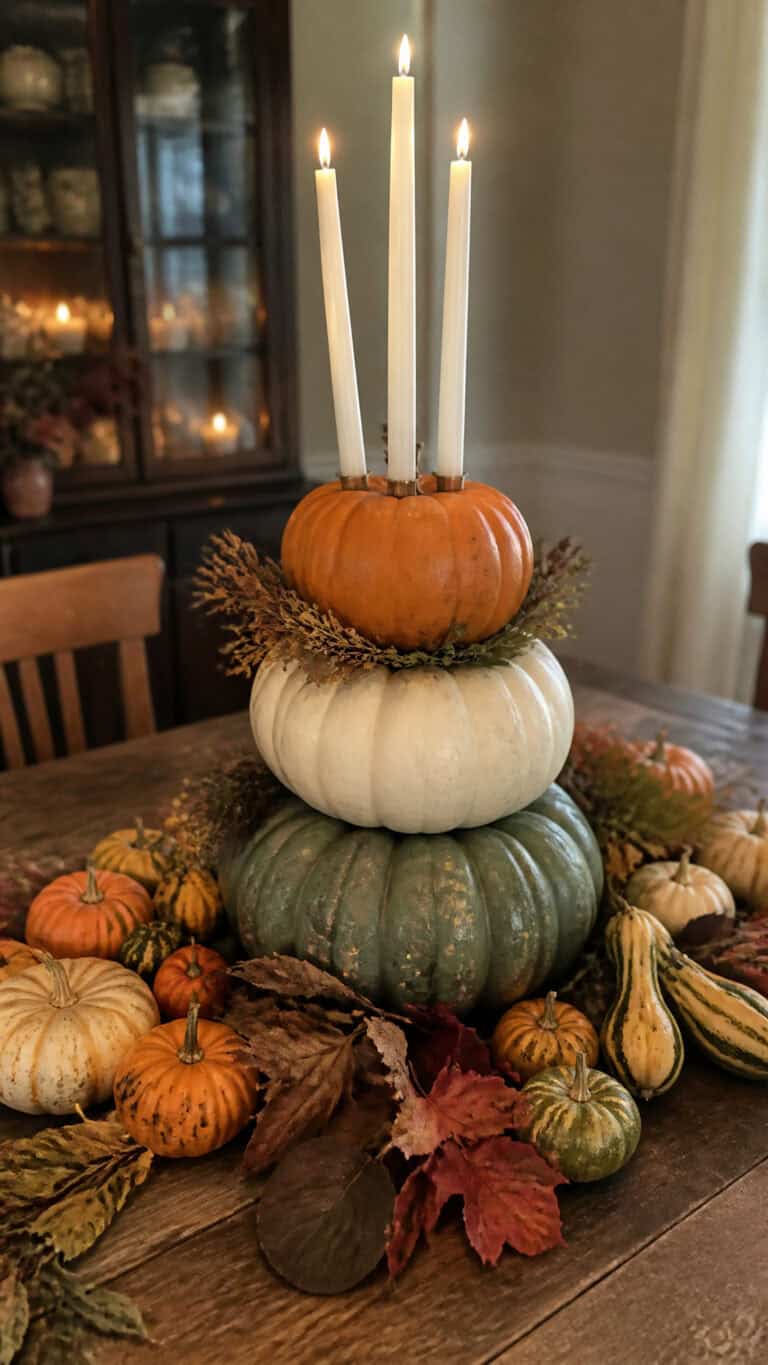
- Mini pumpkins and gourds scattered around candy bowls
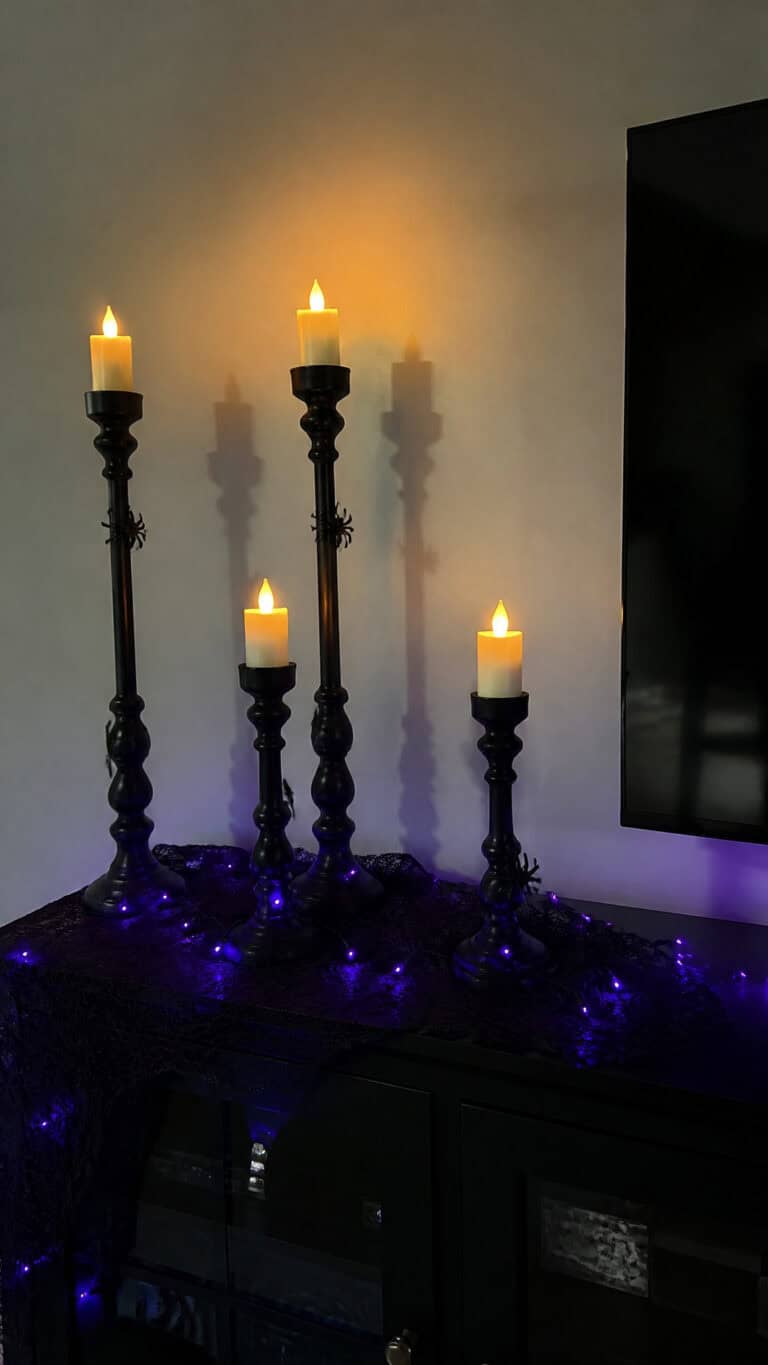
- Battery-operated tea lights or string lights for ambiance (way safer than real candles with kids around!)
- Plastic skulls, skeletons, or Halloween figurines as centerpieces
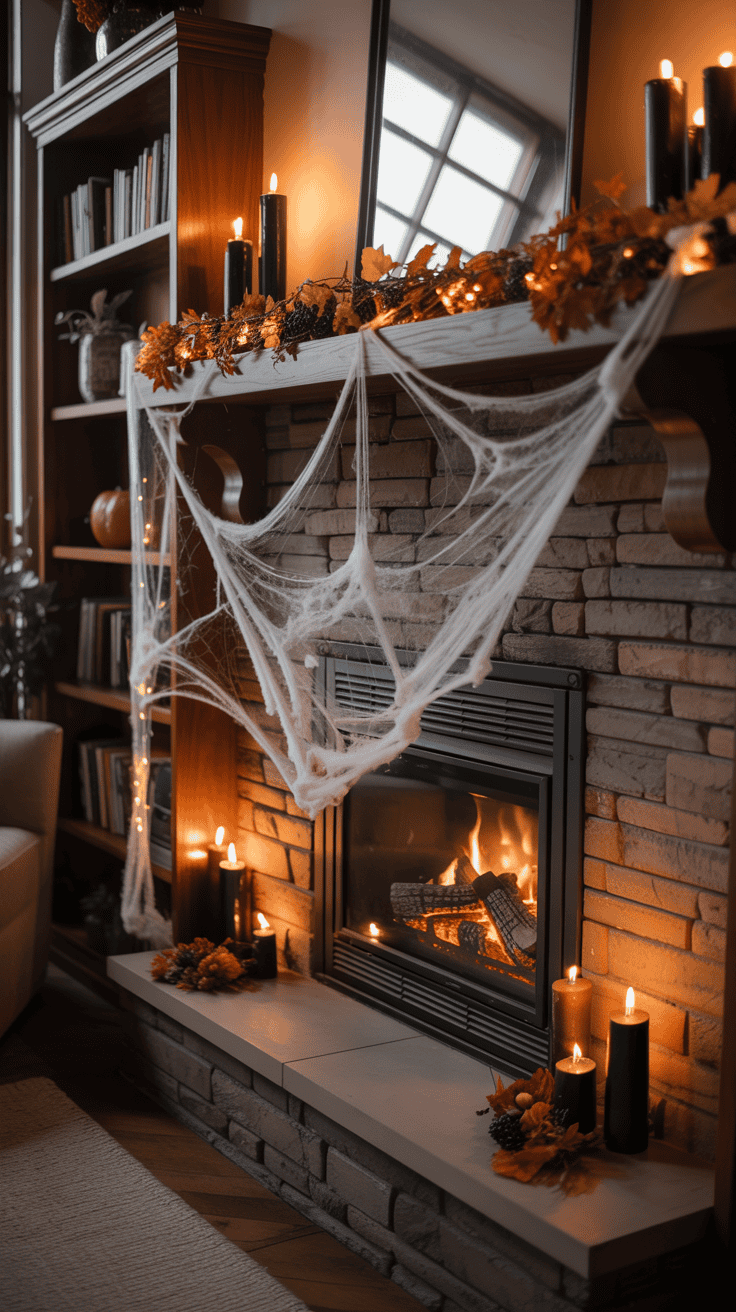
- Creepy cloth or cheesecloth draped artistically
- Dry ice in a cauldron for a foggy effect (adult supervision required!)
- Halloween-themed serving utensils like skeleton hand tongs or witch finger spoons
- Tombstone decorations or signs with fun sayings
Don’t forget about adding height to your display! I use cake stands, overturned boxes, or stacked books under the tablecloth to create different levels. This makes the table more visually interesting and helps smaller items not get lost among the larger decorations.
For an extra special touch, I love adding themed labels to each candy bowl. You can make them spooky like “Witch’s Warts” for gumballs or “Monster Teeth” for candy corn. My kids think this is hilarious, and it adds personality to your halloween trick or treat table!
Setting Up a Self-Serve Station That Works
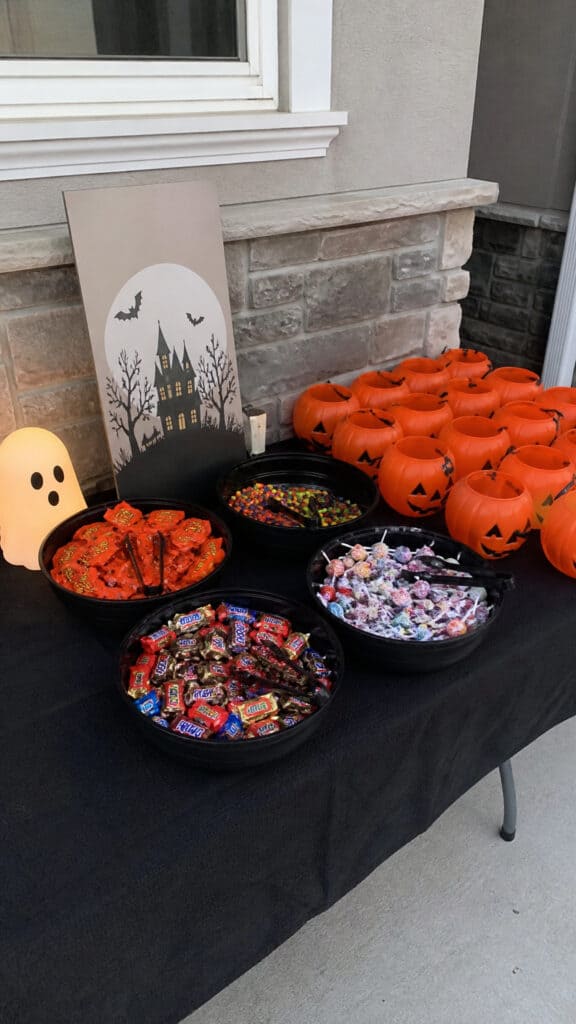
Creating a self-serve halloween trick or treat table that actually functions smoothly takes a little planning, but it’s so worth it! The goal is to let kids help themselves while maintaining some order – and believe me, with three boys, I know how quickly things can descend into chaos!
First, arrange your candy bowls in a logical order from one end of the table to the other. I like to alternate chocolate and non-chocolate options so kids naturally move along the table rather than clustering in one spot. Place the most popular items (looking at you, chocolate!) in the middle or spread them out to encourage flow.
Provide individual scoops or tongs for each bowl – this is non-negotiable for hygiene! I learned this lesson the hard way during my first Halloween party when I watched kids’ hands dive into every bowl. Now each container gets its own serving utensil, and I demonstrate to the first few kids how to use them.
Consider setting up a “take one or two” rule and post a friendly sign. I made a cute printable that says “Take 2-3 Treats Per Bowl!” with little ghosts on it. Most kids are surprisingly good about following rules when they’re clearly stated, and it helps your candy supply last longer!
If you’re worried about kids taking too much (totally valid concern!), you can pre-fill small bags or containers with a set amount of candy. This works especially well for younger children who might struggle with decision-making or portion control. I fill orange plastic pumpkin buckets with an assortment and let each child take one pre-made bucket.
Place any non-candy alternatives at the beginning or end of the table where they’re clearly visible. Sometimes kids get so excited about candy that they miss the other options, so making them prominent ensures every child can participate, regardless of dietary needs.
Managing the Table During Your Event
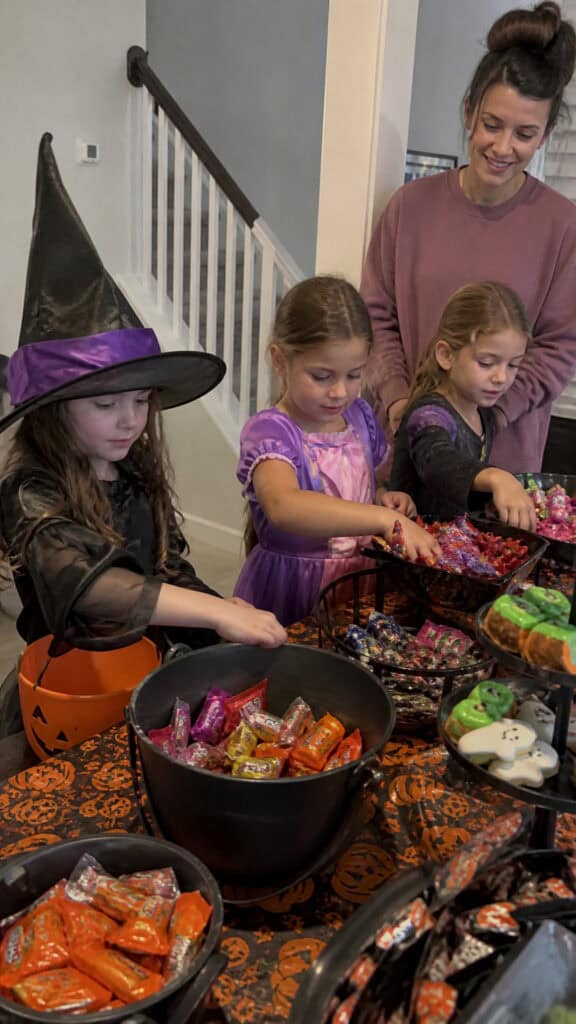
Once your halloween trick or treat table is set up and your guests start arriving, your job shifts to managing the flow and keeping things running smoothly! With my three boys and their friends, I’ve learned that a little supervision goes a long way toward preventing candy chaos.
Position yourself nearby, especially at the beginning of your event. I like to stand near the table for the first 15-20 minutes to help kids understand how it works, answer questions about what’s in each bowl, and gently remind excited little ones about the “take a few” rule. Once everyone gets the hang of it, you can step back and just check in periodically.
Keep an eye on your candy levels and refill bowls as needed. Nothing looks sadder than a picked-over table, and kids who arrive later deserve the same exciting experience as those who came first! I keep backup candy in a nearby closet or kitchen cabinet for easy restocking.
Have wet wipes or hand sanitizer readily available near the table. Kids will touch things, drop things, and generally make messes – it’s just what they do! Having cleanup supplies within arm’s reach makes everything so much easier. I keep a small trash can nearby too for wrappers, because inevitably someone will open candy right there.
Be prepared to help younger children who might feel overwhelmed by choices. My youngest used to freeze up when faced with too many options! I’d help him by asking “Do you want chocolate or gummies?” to narrow it down. A gentle guiding hand makes the experience more enjoyable for shy or indecisive kids.
Watch for any allergy concerns and be ready to point parents and kids toward your allergy-friendly section. I always make sure I know what’s in each bowl so I can answer questions quickly and confidently. Keeping candy in original wrappers (rather than dumping everything loose) also helps with ingredient checking!
Creative Themes and Variations to Try
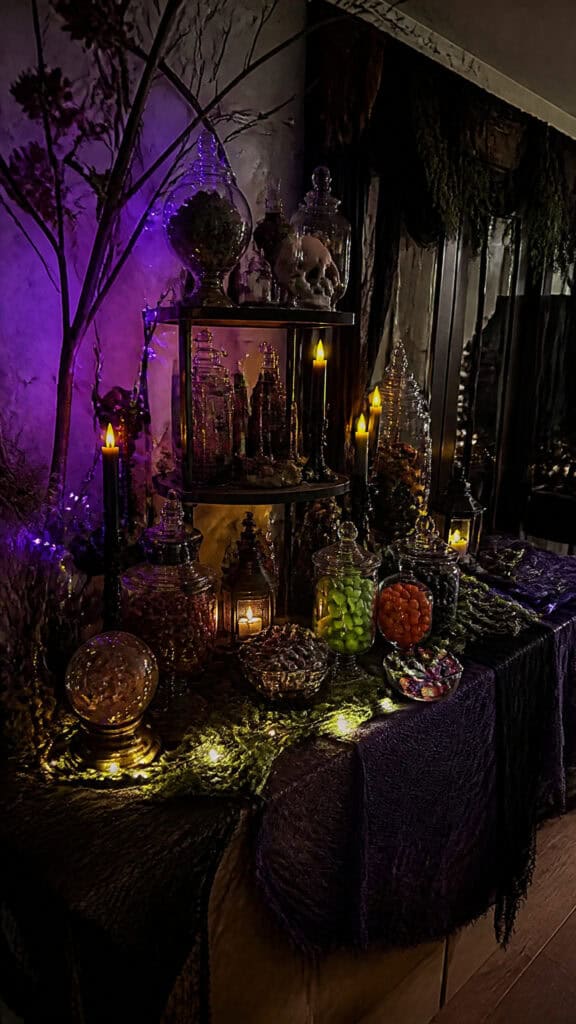
Once you’ve mastered the basic halloween trick or treat table, you can have so much fun experimenting with different themes and creative variations! Each year I try to switch things up a bit to keep it exciting for my boys and their friends.
A “Candy Bar” theme is always a hit – set up your table like a fancy candy buffet with tiered stands, glass jars, and elegant Halloween decorations. Use black and orange as your color scheme with metallic gold or silver accents for a sophisticated touch. This works great for parties with both kids and adults!
For a spookier vibe, try a “Mad Scientist Laboratory” theme! Use beakers, test tubes, and scientific equipment (you can find plastic versions at party stores) to hold your candy. Label everything with fake scientific names like “Specimen 237” or “Toxic Waste Candy.” My boys absolutely loved this one and kept pretending to be scientists!
Other fun theme ideas to consider:
- Haunted House: Create a spooky mansion vibe with cobwebs, candelabras, and gothic decorations
- Pumpkin Patch: Use lots of pumpkins, hay bales, and fall colors for a harvest feel
- Monster Mash: Feature different monster characters with candy labeled for each (Frankenstein’s favorites, Dracula’s delights, etc.)
- Witch’s Apothecary: Display candy in potion bottles and jars with mysterious ingredient labels
- Graveyard: Use tombstones, skeleton hands reaching up, and dark, eerie decorations
You can also add interactive elements to make your table extra special! Set up a “guess how many candies” jar as a game, create a photo booth backdrop behind the table, or have a costume contest voting station nearby. These additions turn your treat table into an activity center!
For a healthier twist (yes, I know, Halloween and healthy don’t usually go together!), consider a “Boo Basket” variation with fruit snacks, popcorn bags, pretzels, and juice boxes alongside traditional candy. Some parents really appreciate having these options, and honestly, my kids love popcorn just as much as candy!
Making Halloween Memories with Your Treat Table
Creating a halloween trick or treat table has become one of those special traditions that my boys look forward to every single year! It’s not just about the candy (though let’s be honest, that’s a big part of it) – it’s about creating a welcoming, festive atmosphere where kids can enjoy the magic of Halloween in a fun and controlled way.
Whether you go simple with just a few bowls of candy on your dining room table or create an elaborate themed display that would make Pinterest proud, the most important thing is that you’re creating memories and bringing joy to the kids in your life! So grab some candy, throw up some decorations, and get ready to see those little faces light up when they see your amazing halloween trick or treat table. Trust me, the excitement and happiness you’ll witness makes every bit of effort totally worth it!
This post may contain affiliate links. Read the full disclosure here.