8 DIY Halloween Room Decor Ideas for a Spooky Home Makeover
October is hands-down my favorite month of the year! Between pumpkin spice everything, cooler weather, and watching my three boys get excited about Halloween, there’s just something magical in the air. This year, I decided to go all-out with our home decorations, but with three energetic boys running around, I needed projects that were budget-friendly, quick to make, and most importantly, fun enough that the kids could help without creating total chaos!
That’s when I discovered the amazing world of DIY Halloween room decor! These projects have completely transformed our home into a spooky wonderland without breaking the bank or requiring a degree in arts and crafts. From our living room to the boys’ bedrooms, every corner now has that perfect Halloween vibe. The best part? Most of these ideas use materials you probably already have at home or can grab at the dollar store. Let me share my favorite projects that have made this Halloween season absolutely unforgettable!
Floating Cheesecloth Ghosts
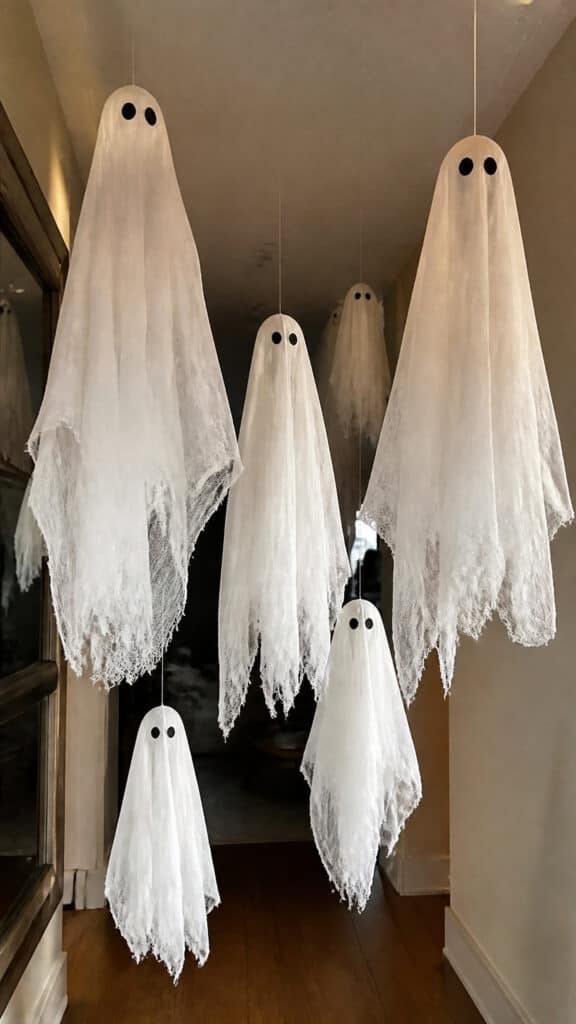
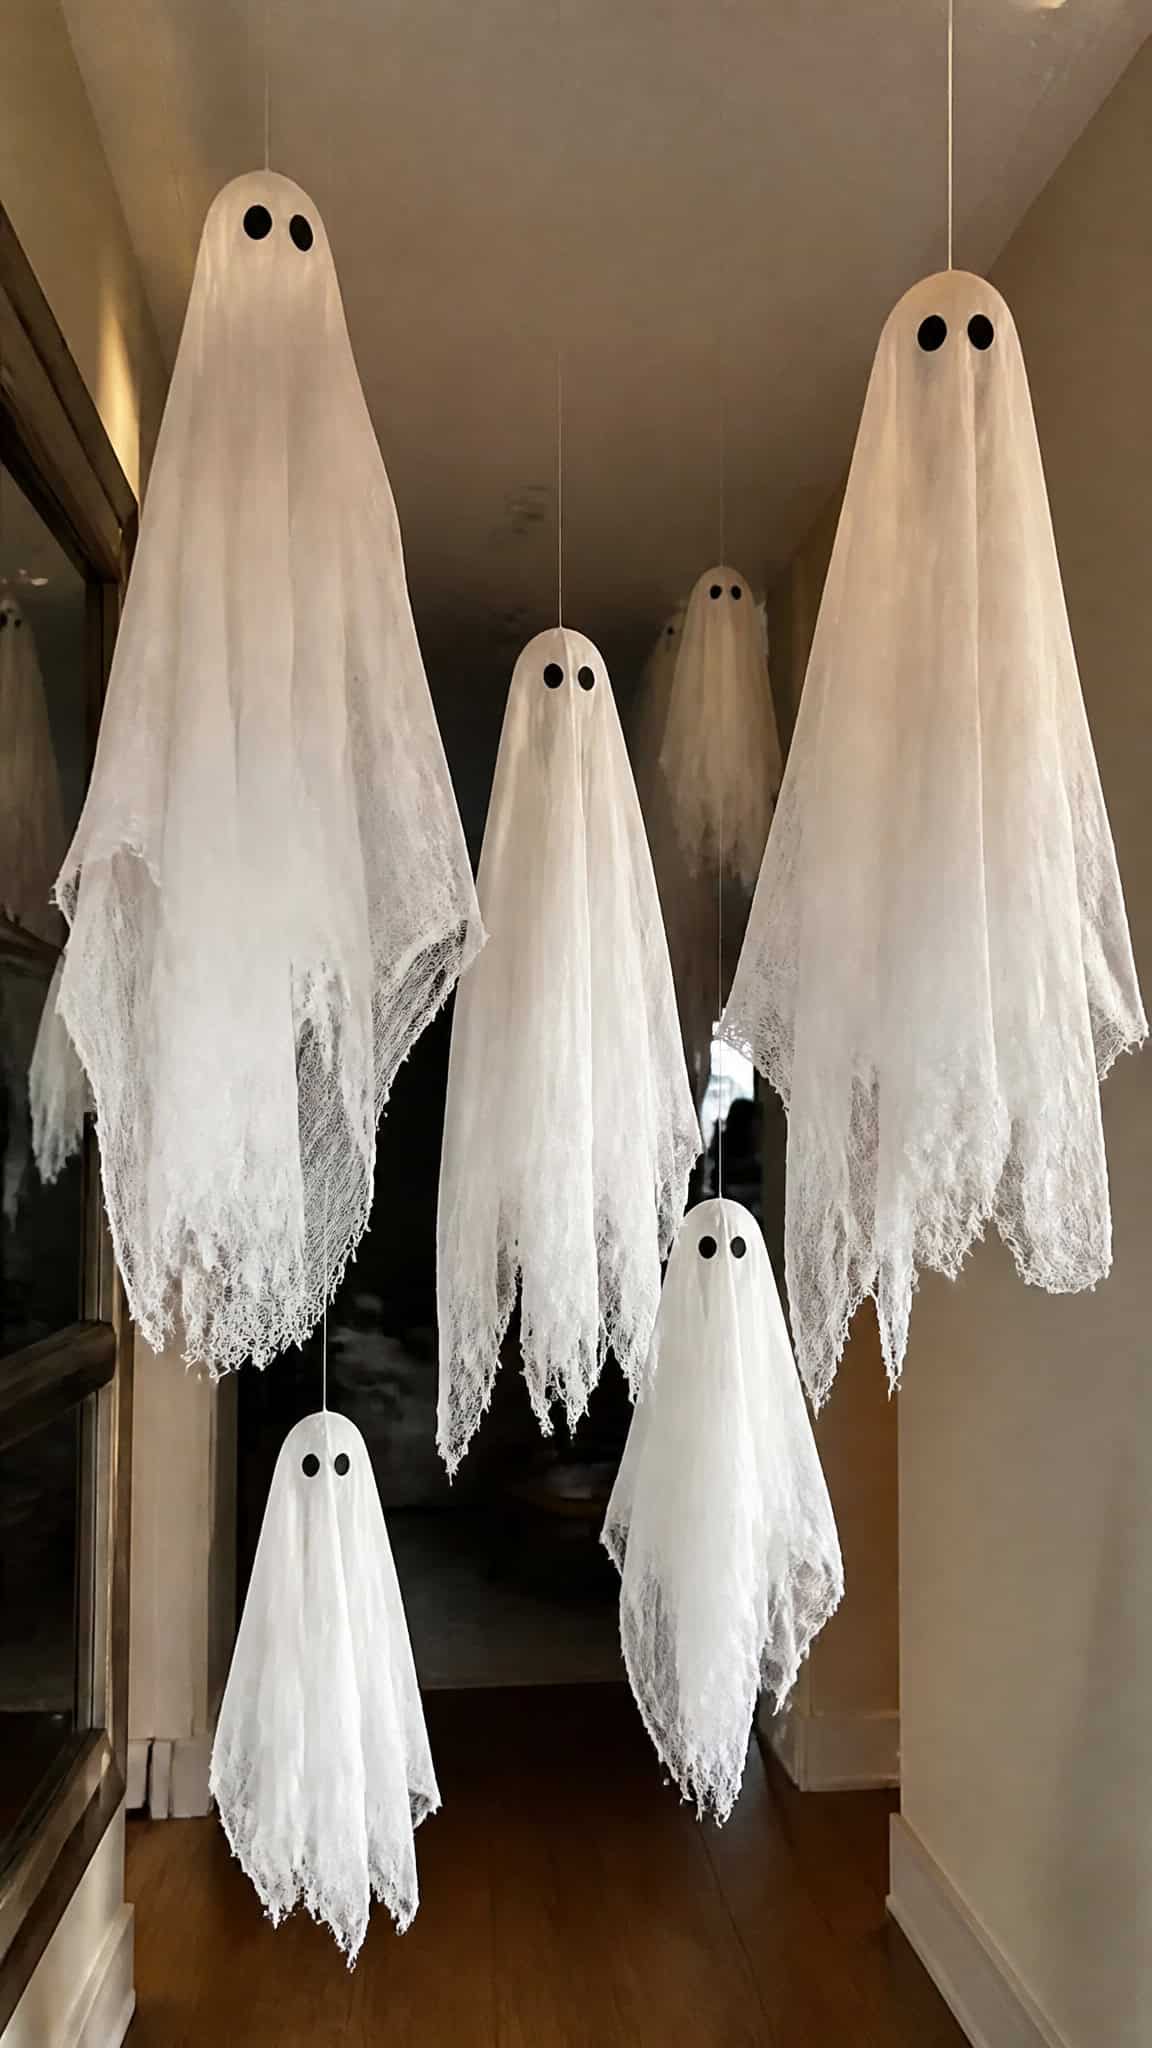
These floating ghosts have become the star of our Halloween decorations! My middle son calls them the “friendly ghosts” and honestly, they’re so adorable that even my youngest isn’t scared of them. The best part about this DIY Halloween room decor project is how incredibly simple it is to make, and you can create an entire ghost family in under an hour!
To make these spooky spirits, you’ll need cheesecloth, liquid starch, balloons, and a few basic supplies. Start by inflating balloons to different sizes (this creates a more interesting ghost family!). Mix your liquid starch in a bowl, then dip the cheesecloth into it until it’s completely saturated. Drape the wet cheesecloth over the balloons, which you’ve placed on top of cups or bottles to keep them elevated. Shape the fabric to create flowing ghost forms, making sure to create a distinct head area!
Once the cheesecloth dries completely (usually overnight), carefully pop and remove the balloons. Now comes the fun part that my kids absolutely love – adding the faces! You can use black felt circles, buttons, or even draw on faces with a black marker. I let each of my boys design their own ghost’s personality, and we ended up with happy ghosts, surprised ghosts, and even one with a silly tongue sticking out!
Hang these ghostly friends from the ceiling using clear fishing line at varying heights to create that floating effect. We have them in our entryway, and every time someone walks in, the air movement makes them sway gently. It’s such a simple touch, but it creates an amazing spooky atmosphere! Pro tip: Make them in different sizes – we have tiny baby ghosts all the way up to a giant mama ghost that’s about three feet tall!
Mason Jar Mummy Luminaries
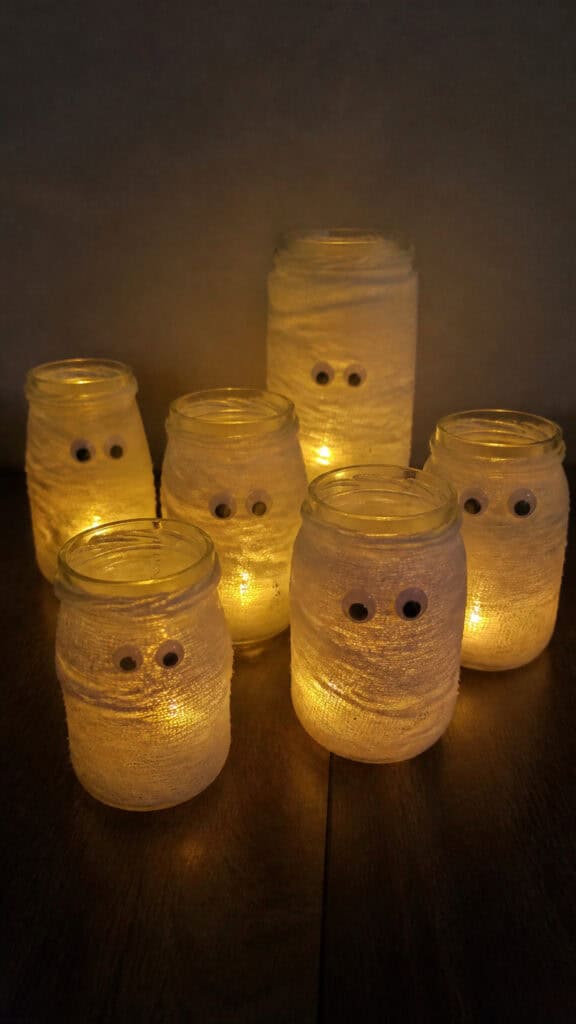
If you’re looking for DIY Halloween room decor that’s both adorable and functional, these mason jar mummy luminaries are absolutely perfect! They provide a soft, spooky glow that’s perfect for setting the Halloween mood without being too scary for little ones. Plus, they’re so easy to make that even my five-year-old could help with most of the steps!
Gather up any mason jars you have lying around (I raided our recycling bin and found pasta sauce jars, which work just as well!). You’ll also need white gauze or medical bandages, googly eyes, and battery-operated tea lights. Start by wrapping the gauze around the jar in a random, messy pattern – the more chaotic, the better! This is where kids can really get creative and have fun. Secure the ends with hot glue or a strong craft glue.
Before you finish wrapping, make sure to leave a small gap where you’ll attach the eyes. Once the wrapping is complete, glue on two googly eyes in that space. I love using different sized eyes on different jars to give each mummy its own personality! Some of ours look surprised, some look sleepy, and one looks absolutely startled. The variety makes the whole display so much more fun and interesting!
Place battery-operated tea lights inside each jar (please, please use battery-operated ones – safety first with kids around!). The light shining through the gauze creates the most amazing warm glow that looks absolutely magical in the evening. We have a whole family of mummy luminaries lining our fireplace mantel, and they’ve become a centerpiece that everyone comments on! You can also line them up along your walkway, place them on window sills, or cluster them together on a side table. They’re versatile, adorable, and so budget-friendly!
Creepy Window Silhouettes
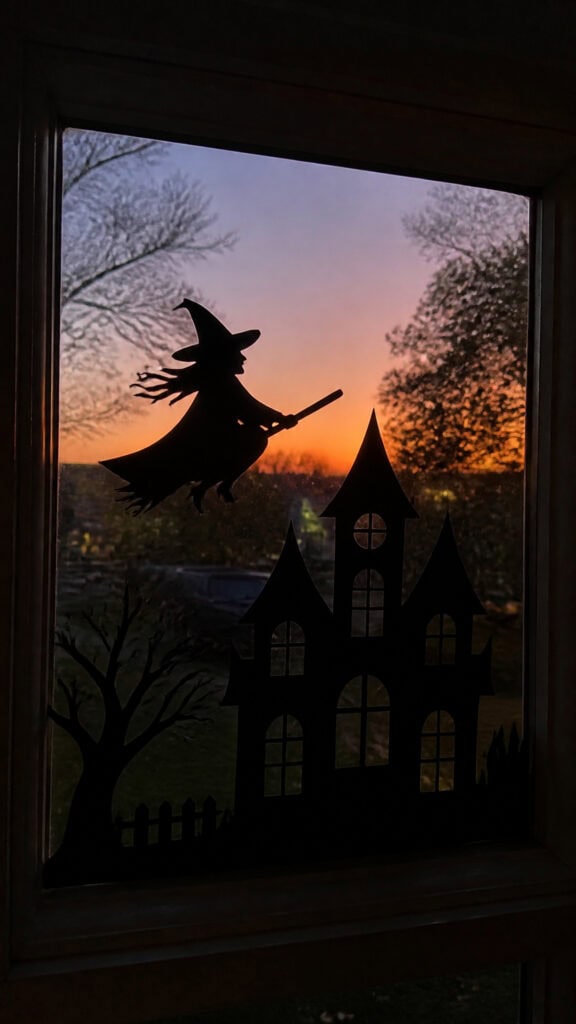
Want to give your neighbors and trick-or-treaters a little spooky surprise? These window silhouettes are hands-down one of my favorite DIY Halloween room decor projects! From the outside, they look like creepy figures lurking in your windows, but they’re super simple to create and completely kid-friendly. My boys love turning off all the lights and going outside to see how scary our house looks!
All you need is black poster board or cardstock, scissors, and tape. Start by finding silhouette templates online – there are tons of free printables! I printed out a witch, a haunted house skyline, a creepy tree, and a black cat. You can also freehand your own designs if you’re feeling artistic. Cut out your shapes carefully (this is a great quiet-time activity when you need the kids occupied for a bit!).
The magic happens when you tape these silhouettes to your windows from the inside. During the day, they’re just cute black shapes, but when evening comes and you turn on your interior lights, they transform into dramatic, spooky shadows that are visible from outside! The contrast between the light from inside and the dark silhouettes creates such an eerie effect. We have a witch silhouette in our living room window that looks like she’s flying across the room!
For an extra spooky touch, you can add colored cellophane behind some of the cutouts to create glowing eyes or windows. We added red cellophane behind the windows of our haunted house silhouette, and it looks like there’s an eerie glow coming from inside! This project costs almost nothing but makes such a huge impact. Every evening during October, we do a “spooky house tour” where the boys and I walk outside to admire our handiwork, and it never gets old!
Potion Bottle Apothecary Display
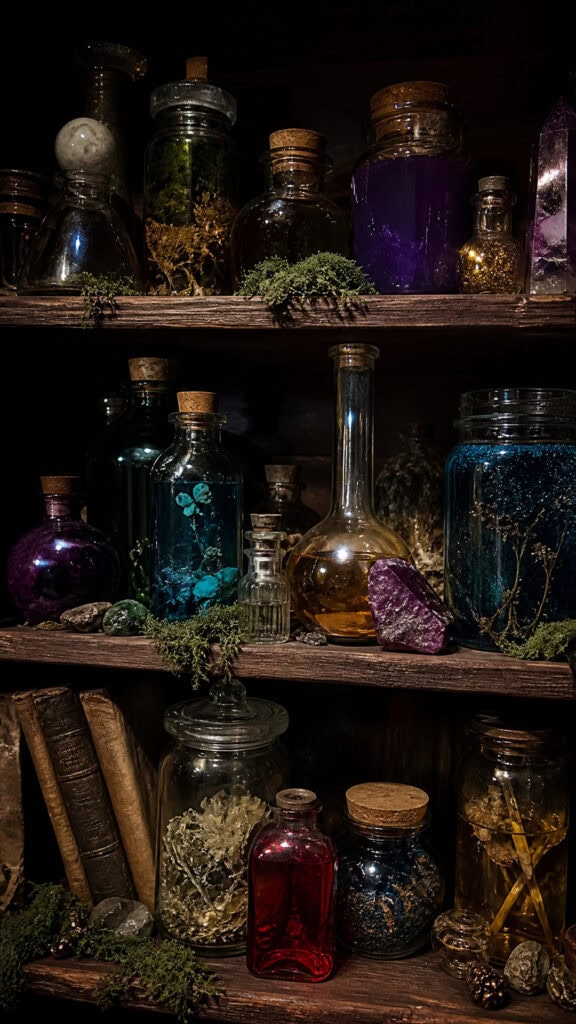
This DIY Halloween room decor project makes me feel like I’m living in a witch’s cottage, and I absolutely love it! Creating an apothecary display with potion bottles is such a fun way to add a magical, mysterious vibe to any room. My boys are obsessed with our “potion collection” and love making up stories about what each bottle contains. It’s become an imaginative play opportunity as much as a decoration!
Start collecting glass bottles and jars in various shapes and sizes – wine bottles, old olive oil bottles, spice jars, anything with an interesting shape works perfectly! Clean them thoroughly and remove any labels. Now comes the transformation! You can leave some bottles clear and fill them with colored water (just add food coloring to water), or you can spray paint some bottles in metallic colors like bronze, copper, or black for variety.
The real fun is in the details! Fill your bottles with different “ingredients” – colored water with glitter for magical potions, plastic spiders or snakes, twisted wire to look like strange specimens, black beans or lentils labeled as “bat eyes” or “spider eggs,” or even just interesting dried flowers and herbs. My kids helped me create labels using tea-stained paper for that aged look. We wrote ridiculous potion names like “Essence of Mischief,” “Dragon’s Breath,” and “Toad Warts” in our fanciest handwriting!
Arrange your potion bottles on a tray, shelf, or mantel, grouping them at different heights for visual interest. Add some moss, plastic ravens, old books, or candles around them to complete the witchy aesthetic. We have our collection on a bookshelf in the living room, and it’s become such a conversation starter! You can even add small battery-operated fairy lights around the display to make the bottles glow mysteriously. This is definitely one of those projects that looks way more complicated than it actually is!
Paper Bat Swarm Wall Display
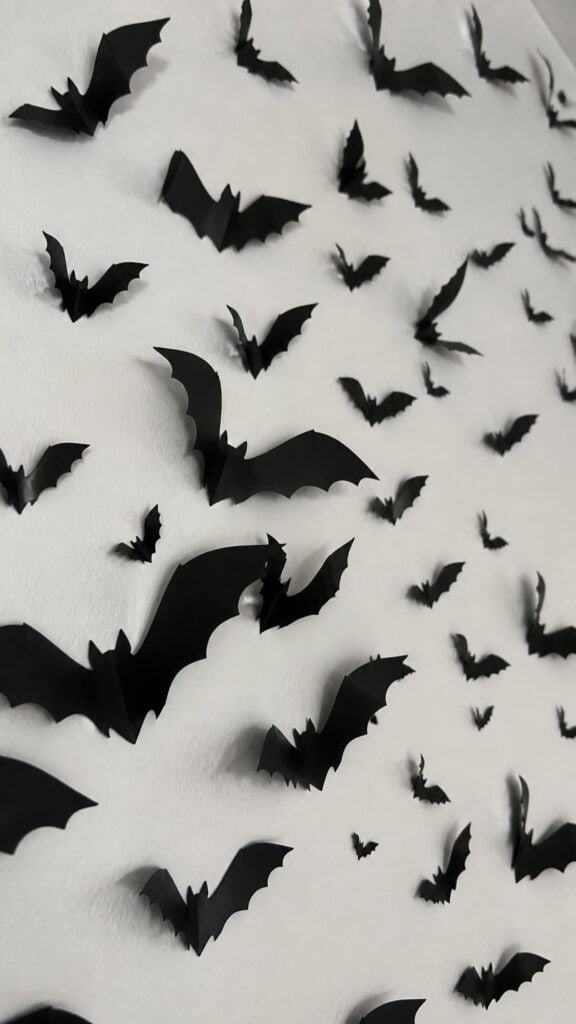
Nothing says Halloween quite like bats, and this paper bat swarm has completely transformed our stairway wall! This DIY Halloween room decor idea is probably the most budget-friendly project on this list, and it creates such a dramatic visual impact. Seriously, we spent maybe five dollars on black cardstock, and now we have hundreds of bats “flying” through our home!
You’ll need black cardstock or construction paper, scissors, and double-sided tape or poster putty. Find a bat template online (or draw your own – they don’t have to be perfect!), and start cutting. This is where I turned on a movie and got into a cutting meditation zone. I made bats in three different sizes to create depth and variety. My oldest son helped me cut out bats while his brothers were at school, and he felt so proud to be part of this big project!
The key to making this display look amazing is in the arrangement. Start from one corner or area and create a swarm pattern that flows across your wall, as if the bats are all flying in the same direction. Vary the spacing – cluster some bats close together and spread others out. Overlap some bats and have others flying solo. You can even bend the wings slightly before attaching them to the wall to create a three-dimensional effect that makes them look like they’re really in flight!
We started our bat swarm in the corner of our stairway ceiling and had them “fly” down along the wall. It literally looks like they’re swooping through the house! The boys love counting how many bats we have (we lost count somewhere around 150!). This project does take some time with all the cutting and placing, but you can spread it out over a few days. Put on some Halloween music, grab your scissors, and before you know it, you’ll have an incredible bat display that costs almost nothing but looks absolutely spectacular!
Spooky Spell Book Stack
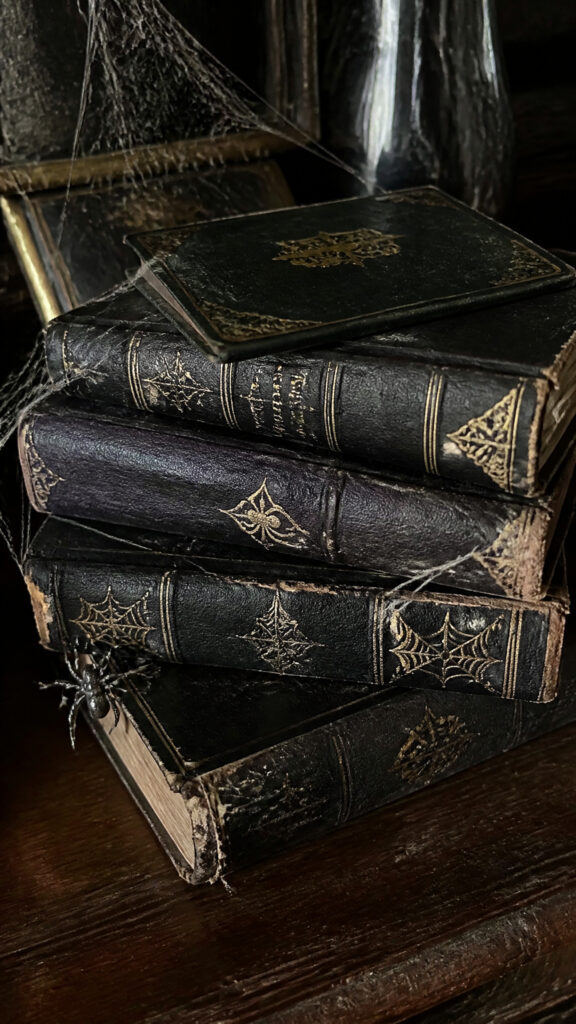
Old books get a spooky makeover in this super easy DIY Halloween room decor project! These spell books look like they came straight out of a haunted library, and they’re perfect for adding that vintage, mysterious touch to your Halloween decorating. The best part? You can use old books you already have or pick them up for pennies at thrift stores!
Hunt through your bookshelves for old hardcover books you no longer need, or hit up your local thrift store where books are usually less than a dollar each. Look for books with interesting textures or older-looking covers. You’ll also need acrylic paint (black, deep purple, burgundy, or dark green work great), a sponge or brush, and gold or silver paint pens for the lettering.
Give your books a base coat in your chosen spooky color. You don’t need perfect coverage – actually, leaving some of the original book showing through adds to that ancient, weathered look! Once dry, use your paint pens to write spooky titles on the spines. Get creative here! We have “Potions & Hexes,” “Wicked Spells for Beginners,” “The Witch’s Handbook,” and my personal favorite, “How to Train Your Monster.” My eight-year-old came up with that last one, and it makes me smile every time I see it!
Add extra details like spiderwebs (use hot glue and paint it black), plastic spiders, or even some moss tucked between the books. Stack them at angles, pile them high, or arrange them to look like they’ve been hastily stacked by a busy witch. We have our spell book collection on the coffee table, and they’ve become a focal point of our living room. Sometimes I catch my boys flipping through them, pretending to cast spells on each other! You can also scatter them around your home – one on a side table, a few on a bookshelf, or stack them next to your potion bottles for a complete witchy vibe!
Hanging Witch Hat Decorations
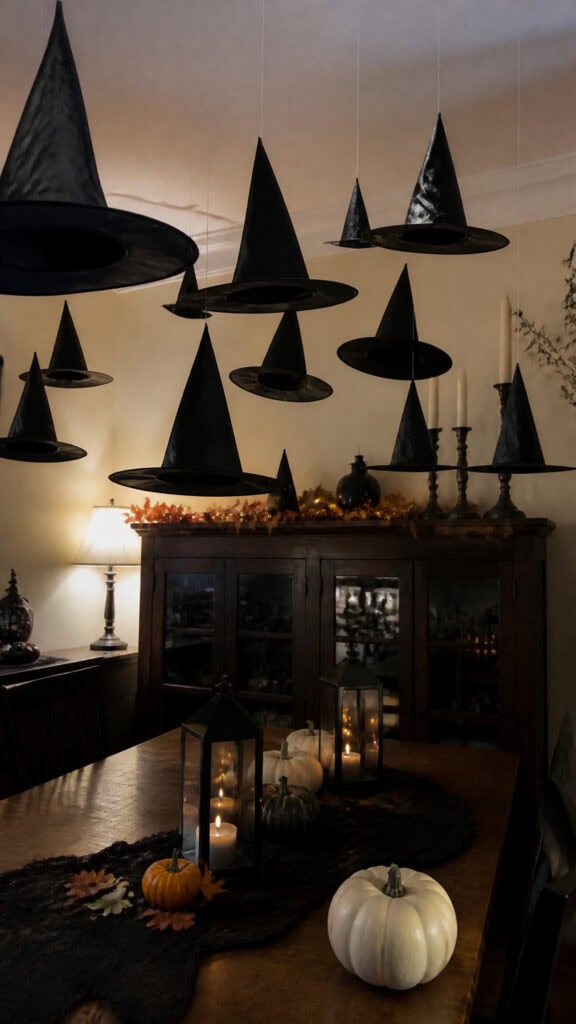
Witch hats floating through the air create such a whimsical, magical atmosphere! This DIY Halloween room decor project is one of my absolute favorites because it’s so visually striking but incredibly simple to pull off. When people walk into our dining room and see witch hats suspended at different heights, they always ask how we did it – and they’re always surprised by how easy it actually is!
You can either buy inexpensive witch hats from the dollar store or craft stores (they usually come in packs during Halloween season), or if you’re feeling ambitious, you can make your own from black felt or cardstock. I went the easy route and bought a variety pack that had different sizes. You’ll also need clear fishing line or thin black thread, and small command hooks or thumbtacks for your ceiling (make sure to check that they won’t damage your ceiling first!).
Attach fishing line to each witch hat – I tie mine around the base of the cone and secure it with a dab of hot glue so it doesn’t slip. Then comes the fun part: hanging them at various heights throughout your room! The key is to create different levels – some hanging low, some higher up, all at different angles. This creates that floating, suspended-in-air effect that looks like the hats are flying through your space. Twist some of them at angles so they look like they’re swooping or turning!
We have witch hats hanging in our dining room, and the effect is absolutely magical! Sometimes we’ll add a few plastic spiders hanging from the hats on their own strings for extra spookiness. You can also wrap some battery-operated string lights around the fishing line for a glowing effect in the evening. My middle son insists that real witches left their hats behind when they flew through our house, and honestly, that’s exactly the kind of magical thinking that makes Halloween so special! This project takes maybe thirty minutes but creates such an impressive display!
Glowing Eyes in the Bushes
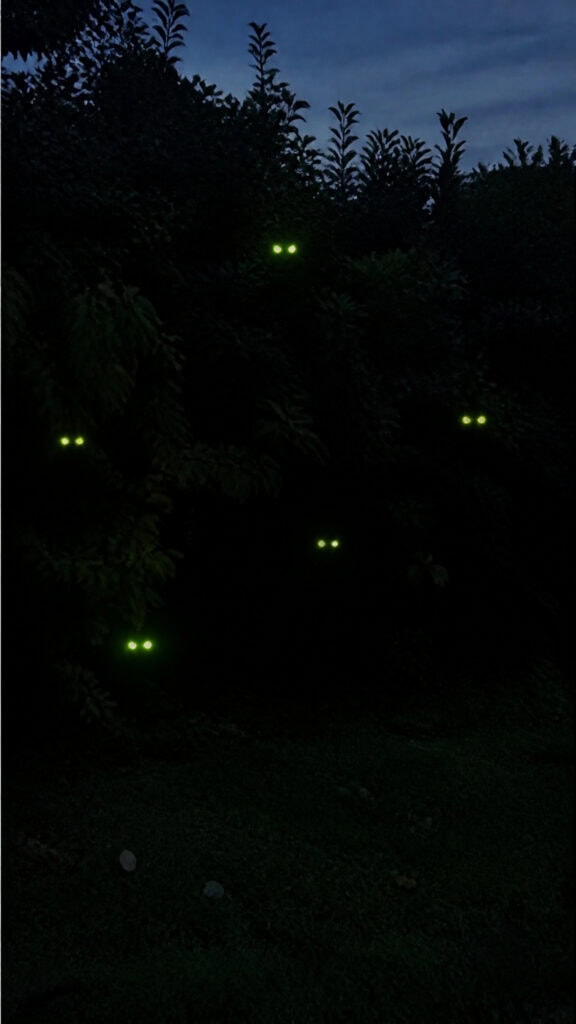
Okay, this one is technically outdoor decor, but it’s so good that I had to include it! These glowing eyes peeking out from bushes, trees, or even indoor plants create the creepiest effect, and they’re so simple to make. Every trick-or-treater who comes to our house stops and stares at our bushes, trying to figure out what’s lurking in there! This DIY Halloween room decor idea works indoors too – we have some glowing eyes peeking out from behind our living room curtains!
All you need are empty toilet paper or paper towel rolls, a marker or pencil, scissors or a craft knife, and glow sticks. Start by drawing eye shapes on your cardboard tubes – you can make them round, oval, almond-shaped, or even cat-like with slits. Make them different sizes and styles for variety! Some can be close together, some far apart, some big, some small. Cut out your eye shapes carefully (adults should do this part if you’re using a craft knife!).
When darkness falls, activate your glow sticks and insert them into the tubes. The light will shine through the eye holes you cut out, creating an eerie glowing effect! Place these tubes in your bushes, behind indoor plants, peeking out from behind furniture, or anywhere you want to create that “something’s watching you” feeling. We have them tucked into our front bushes, and they look absolutely amazing at night!
The beauty of this project is how customizable it is! Use different colored glow sticks for different effects – green looks alien and eerie, red looks demonic, yellow looks mysterious, and blue looks ghostly. You can also paint your tubes black so they’re completely invisible during the day and only the eyes show at night. My boys love checking on our “bush monsters” every evening to make sure they’re still glowing. Fair warning: you might accidentally scare yourself when you forget they’re there and catch a glimpse of glowing eyes in your peripheral vision! Trust me, I’ve jumped more than once at my own decorations!
Time to Get Your Spook On!
There you have it – eight amazing DIY Halloween room decor ideas that will transform your home into a spooky spectacular without breaking the bank! The best part about all of these projects is that they’re totally doable even with kids running around (trust me, if I can do them with three boys, anyone can!). Most of these decorations can be made with supplies you already have at home or can grab for just a few dollars at your local dollar store or craft shop!
Halloween decorating has become such a special tradition in our family, and these DIY projects have made it even more meaningful because we create them together. Sure, there’s glitter everywhere and glue gun strings on every surface, but the memories we’re making are absolutely worth it! I hope these ideas inspire you to get creative and make this Halloween season extra special for your family. Now if you’ll excuse me, I need to go rescue my youngest from the mason jar mummy luminaries – he’s trying to adopt them as pets! Happy Halloween, and happy crafting!
This post may contain affiliate links. Read the full disclosure here.