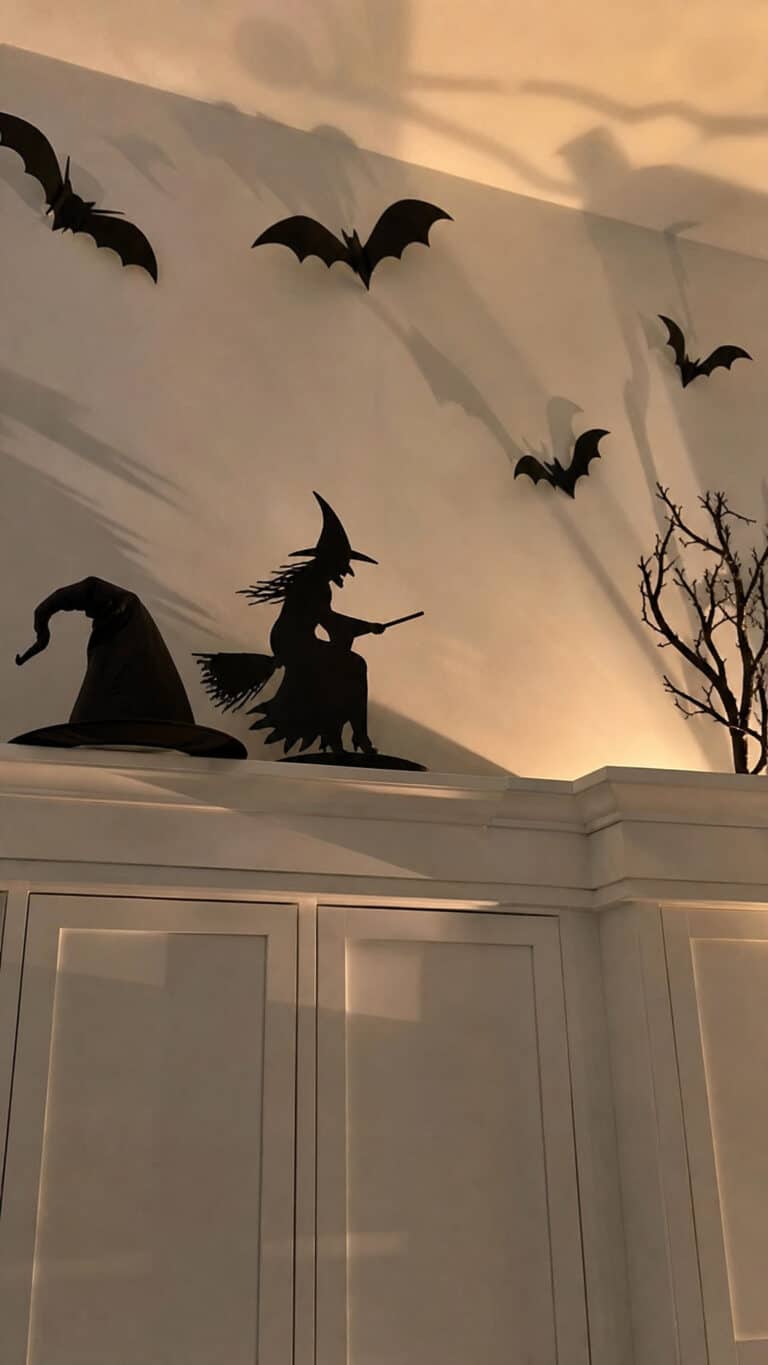
How To Create Halloween Outdoor Pumpkin Decor That Wows
It feels like every October sneaks up quicker than the last! As a mom of three wild (and wonderful) boys, I know just how much chaos and laughter comes with prepping for Halloween around here. We always look forward to getting outside as a family and turning our yard into something special. Nothing says “fall fun” quite like putting together halloween outdoor pumpkin decor with sticky fingers, painted faces, and plenty of giggles.
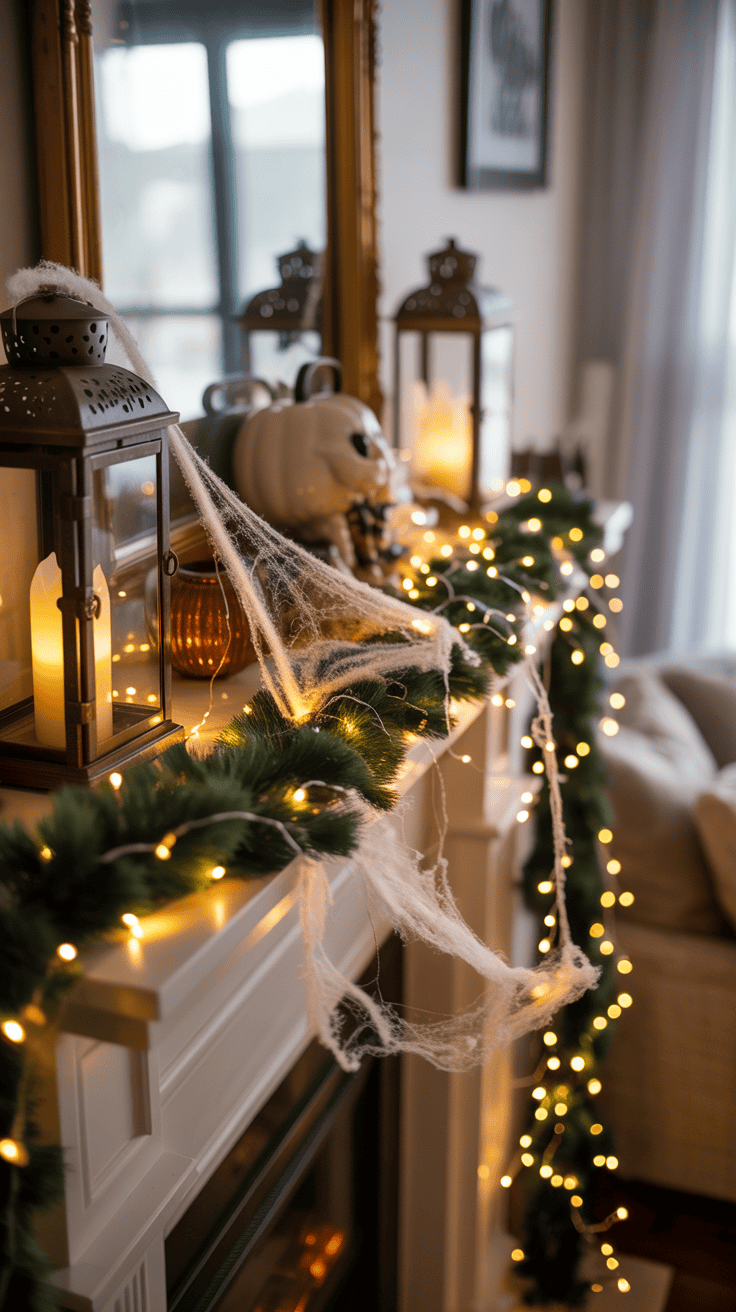
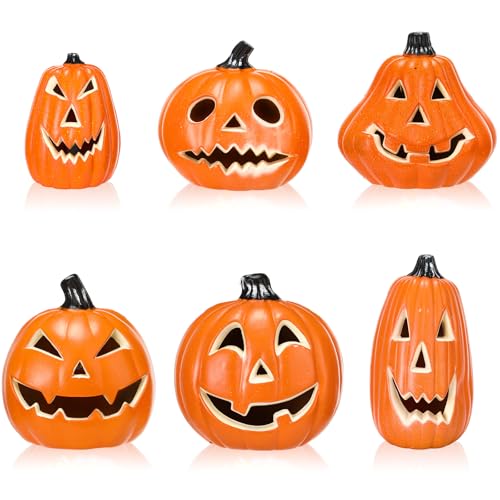
I used this outdoor light-up pumpkin set to make our porch glow — it’s festive, durable, and so easy to set up.
I love that decorating with pumpkins can be simple, creative, and unforgettable. We don’t need fancy tools or endless hours—just a little imagination and a lot of teamwork. If you want ideas that are easy to pull off but still “wow” the neighbors, you’re in the right place! I’ll share our favorite tips and tricks so you and your family can create Halloween memories that last.

Choosing the Best Pumpkins for Stunning Outdoor Displays


Let’s get real. If you’re a mom juggling a hundred things, having pumpkins that look amazing without tons of fuss is a total win. When I dream up Halloween outdoor pumpkin decor with my boys, picking the right pumpkins is the first big step to a display that makes neighbors stop and stare, but also stands up to our wild weather and wild kids! I have made a few mistakes over the years (soggy mush pumpkins on the porch are always a letdown), so I’m sharing what works best for us. Picking pumpkins is fun, fast, and memorable when we get everyone involved. Here are the things I always keep in mind to make sure our pumpkin display turns out picture-perfect.
What Makes a Great Display Pumpkin?

Before loading up the cart at the patch or store, I look for some basic “must-haves.” These make all the difference for display and decorating with the boys:
- Strong stems: A healthy stem keeps everything together and helps with carrying (and stacking or painting).
- Even color: A rich orange color means freshness and a cheerful look. Green spots or deep scars often mean rot sneaks in fast.
- Smooth surfaces: Bumpy or ribbed pumpkins might look interesting, but smooth ones are way easier to paint, carve, or decorate with stickers and tape.
- Sturdy bottoms: No one wants a pumpkin that rolls off the porch. Flat, firm bottoms keep everyone safe and your display steady.
Picking Pumpkins With the Kids

Honestly, making this a family activity is half the fun for us! My boys love “testing” all the pumpkins by knocking and tapping. Here’s how I keep them busy and get the freshest pumpkins at the same time:
- Let them tap: Fresh pumpkins sound hollow. If it sounds dull or squishy, I pass.
- Check for firmness: We gently squeeze the sides. A good pumpkin feels hard, not soft or with spots.
- No cracks or holes: The tiniest mark can mean a pumpkin will rot in a day or two. We skip anything with cuts, holes, or moldy spots.
- Pick different sizes: We grab one big one for carving or using as the “main character” outside. Then, I let the kids each pick a small one for painting or stacking.
Heirloom, Carving, or Pie? What’s Best for Outdoor Decor?

You don’t have to get stuck with the usual orange pumpkins. I like to mix it up for an eye-catching look right by our front steps! Here’s a simple comparison table I use when teaching my boys what’s what (because they always ask):
| Pumpkin Type | Best For | Pros | Cons |
|---|---|---|---|
| Carving (Jack-o’-lantern) | Carving, painting | Big, smooth, easy to work with | Can rot faster when carved |
| Heirloom | Display, stacking | Exciting colors (white, blue, green), unique shapes | Not always smooth for easy decorating |
| Pie/Sugar | Tabletop accents | Small, kid-friendly, super sturdy | Too small for big displays |
Having a mix gives our display a cool, “farmers market” feel. Plus, my boys get to pick a pumpkin that matches their personality—one wants the weirdest shape every time.
Tips for Long-Lasting Pumpkins Outdoors

Outdoor displays can take a beating from weather, squirrels, and playful kids. I always keep these quick tricks in my back pocket so our pumpkins last until Halloween night:
- Wash and dry chips: I use a little bleach in water or a safe veggie wash before setting pumpkins outside. This keeps mold in check.
- Don’t carve right away: Carved pumpkins get mushy fast. We always decorate with paint or stickers first, then carve our big pumpkin closer to Halloween.
- Keep them dry: Sitting pumpkins up off wet ground on straw, an old tray, or even a napkin helps prevent soggy bottoms.
- Shade is your friend: Pumpkins last longer if they’re not in direct, hot sun all day.
Choosing the right pumpkins really sets the stage for everything else. With the perfect picks, the rest of your Halloween outdoor pumpkin decor is sure to wow (and stay strong even with wild family fun).
Creative Pumpkin Decorating Ideas Beyond Carving

Halloween outdoor pumpkin decor gives me a chance to get creative with my boys and lets us experiment with all sorts of fun tricks. Sometimes, carving just isn’t the best fit (especially with little hands on deck). Good thing there are so many ways to make pumpkins shine—literally! In this section, I’ll share my favorite ways to add serious glow and magic to your pumpkins, all without picking up a knife. These ideas keep it safe, simple, and totally eye-catching.
Glow-Up: Lighting Tricks for Pumpkin Decor
Pumpkin lighting is where the real magic starts. Skip messy candles and level up with safe, reliable, and wow-worthy lighting tricks. These are a must for busy moms who want gorgeous pumpkins and peace of mind too.
Here are my top lighting favorites for show-stopping pumpkins:
- LED tea lights: These are my personal go-to for just about every pumpkin—big or small. They flicker just like real candles but never burn out or make a mess.
- Battery-powered fairy lights: Wrap these around pumpkins, tuck them inside, or even wind them along porch railings for a soft, sparkling effect. The boys love helping with these because there’s no wrong way to do it!
- Solar lights: I pop a solar garden stake into a big pumpkin (usually through a drilled hole on top) and let the sun do the work. No cords, no fuss.
- Glow sticks: These are a quick fix and always a big hit with kids. Perfect for a last-minute light-up. We’ve even tried stacking two colors in the same pumpkin for a wild glow.
- Spotlights: Use a small LED spotlight aimed at your pumpkin groupings. This helps feature all the color and detail at night (and if you’ve painted pumpkins, those shades really pop under a bright light!).
Setting up your pumpkins for maximum glow doesn’t have to be fancy. Here’s what has worked for us year after year:
- Line lighted pumpkins along the walkway so trick-or-treaters know just where to go (and don’t trip on the steps!).
- Cluster different-sized, lighted pumpkins on the porch for a cozy, inviting effect.
- Place pumpkins by the driveway or under a tree to spread out the glow and make your yard look even bigger.
Safety always comes first in our house. I avoid anything with open flames. Flickering electric lights are worry-free and last all evening, even with three wild boys racing around. If you have pets, keep cords short and out of sight. Stash any extra batteries away from little hands.
All these tricks not only add warmth but really help your halloween outdoor pumpkin decor stand out. Your home will look inviting, safe, and full of magic, all at once!
Arranging Your Outdoor Pumpkin Decor Like a Pro

Once you have your pumpkins picked out and ready to go, it’s time to arrange your halloween outdoor pumpkin decor in a way that’s both cheerful and eye-catching. I like to think of my yard as a blank canvas where pumpkins become the stars of the show! The best part is, you don’t have to spend hours agonizing over placement to make things look festive and inviting. It’s all about simple tricks, picking fun combinations, and letting your own family’s style shine. There’s a little science and a lot of play to pumpkin arranging—just like building the perfect pillow fort with the kids.
Focus on Focal Points
Start by figuring out where you want the most attention. I always ask myself: Where do my guests, neighbors, and trick-or-treaters walk first? It’s usually the front steps or entryway for us. That’s where I build up my brightest, biggest pumpkin scenes.
Some spots that turn pretty ordinary yards into statement-makers:
- Front porch (stairs and corners)
- Walkway leading to the door
- At the base of trees for a little forest magic
- Edges of flowerbeds or garden borders
- Around your mailbox or a lamp post
By placing your most colorful or fanciest pumpkin here, you make your whole house feel festive before anyone even knocks on the door.
Embrace Heights and Layers
I learned fast with three boys that piling pumpkins in a single line never looks as fun as mixing up heights and layers. Stacking them and spreading them out in little groups adds instant style and keeps things feeling natural—not stiff.
My tried-and-true way of doing this:
- Place large pumpkins down as the “base.”
- Add medium-sized ones on top or beside them.
- Tuck in a few mini or oddly shaped pumpkins for charm.
- Use sturdy elements like hay bales, crates, or stumps if you want more height. (We pull out our old apple crates every year for this!)
Mixing colors and textures also helps—don’t be shy! White, bumpy, or striped pumpkins break up all the orange and make the decorations pop. If things look too lined up or perfect, I’ll let the boys “mess it up” a little. Imperfect is good. It just adds to the fun.
Grouping for Impact
Grouping is a simple way to make a bigger splash with less. Instead of spreading pumpkins in a single file down the walkway, gathering clusters in threes or fives creates a strong visual hit. It’s like a mini scene all by itself.
When arranging, I look for:
- Odd numbers (three or five catch the eye better than pairs).
- Larger groupings near the front for drama.
- Smaller, playful clusters along the path or by the driveway for extra “wow.”
If you want quick pointers, here’s a simple table you can use to balance group size and space:
| Location | Group Size | Display Tips |
|---|---|---|
| Porch or steps | 5-7 pumpkins | Mix heights, tuck in mums or leaves |
| Walkway edge | 3 pumpkins | Stagger placement for a winding look |
| Mailbox or lamp post | 2-3 pumpkins | Stack or lean for a cozy “cottage” feel |
Blend Pumpkins With Other Decor
If I’m honest, sometimes pumpkins alone aren’t enough. Mixing in a few other fall classics makes the whole display feel rich and playful. My favorites to use with halloween outdoor pumpkin decor include:
- Cornstalks tied around porch posts
- Colorful mums in pots
- Bright leaves or garlands
- Fun signs (“Trick or Treat!” “Boo!”)
- Lanterns or little scarecrows
I also use materials I already have—old baskets, plaid blankets, or even an unused wheelbarrow. It takes the pressure off and adds tons of homey charm.
Leave Room for Personal Touches
I always let the boys add their “something special” before we call our pumpkin display done. Some years, it’s a goofy spider toy perched on top or a hand-painted sign with a family joke. Other times, it’s simply letting them decide which pumpkin gets front-row seats. These little touches give the whole setup tons of personality—and our friends love spotting what’s new each year.
Here’s what we love to add for a personal flair:
- Kid-made decorations (painted rocks, paper ghosts)
- Family name signs (“The Johnson Patch”)
- Favorite Halloween toys or plushies
- DIY flags or bunting strings
Tips for Keeping It Safe and Sturdy
With three boys racing around and the occasional gusty wind, I have to make sure pumpkins stay put! A few quick tricks help:
- Set heavy pumpkins on flat, dry ground.
- Use outdoor-safe sticky pads or a pinch of museum putty to anchor lighter pumpkins.
- Tuck straw around pumpkins to help with balance and cushion falls.
- Avoid blocking pathways or steps, especially for trick-or-treat night!
All of these ideas help turn a front yard or porch into a pumpkin-filled welcome. Arranging your halloween outdoor pumpkin decor doesn’t need to be perfect—just full of spirit, color, and a little family fun.
Pumpkin Decor That Lasts: Caring for and Storing Your Creations

Halloween outdoor pumpkin decor is fun to make, but the real challenge is keeping those awesome pumpkins looking fresh for weeks. Nothing crushes the mood like a pumpkin that turns into a mushy mess halfway to Halloween. As a mom, I know firsthand that once the decorating is done, the real work begins with keeping those creations upright and happy on the porch. Let me walk you through the simple ways I help our pumpkins last, so your hard work shines right until the last trick-or-treater rings the doorbell!
Preventing Early Rot: Smart Moves from Day One
Fresh pumpkins can go from picture-perfect to “ick” before you know it, especially with wild fall weather and curious kids poking and prodding. Over the years, I’ve found a few tricks that help keep our halloween outdoor pumpkin decor looking good.
- Clean every pumpkin before decorating: I give each one a quick wipe with a solution of 1 tablespoon bleach per gallon of water (use gloves for this!). This kills mold spores and keeps rot at bay.
- Let them dry: Before bringing the paints or stickers out, I make sure the pumpkins are totally dry. Wet surfaces mean decorations slip and mold shows up sooner.
- Watch for soft spots: I run my hands over each pumpkin, looking for any soft areas. Anything squishy gets used inside for pies or cooking—not for outside displays!
- Handle by the base, not the stem: Stems snap off fast, which invites rot. I always remind my boys to lift from underneath, no matter how tempting that stem looks.
A little prep here goes a long way. Clean, dry, and healthy pumpkins always hold up better, especially if your outdoor temps swing from hot to chilly.
Protecting Decorated Pumpkins Outdoors
Halloween weather is wild. Rain, sun, wind, and temperature swings all play a role. Keeping your pumpkins happy outside can feel like a full-time job! Here’s what I do:
- Get pumpkins up off the ground: I place ours on a wooden crate, a straw bale, or even an old baking tray. This keeps them dry and helps with airflow.
- Add a thin coat of petroleum jelly or cooking spray: I rub a small amount on any cut or exposed areas (especially if we do any carving). This locks in moisture and slows down mold.
- If painting, use outdoor acrylics or spray sealant: Regular paints chip fast. Outdoor acrylics or a clear sealant make all the difference. No more sad, flaking decorations after one rainstorm!
- Avoid direct sun all day long: I pick a shady spot for our main display. Too much sun means pumpkins ripen (and rot) super fast. Even just moving them back a few feet under the eaves helps.
Here’s a quick overview of what works and what flops:
| Issue | What Works Best | What to Avoid |
|---|---|---|
| Soggy, moldy bottoms | Elevate on straw, wood, or trays | Direct soil or grass |
| Colors fading or flaking | Outdoor paint, clear spray sealant | Washable markers |
| Quick rotting | Clean with bleach solution, shade | Wet/damp storage spots |
Staying a step ahead of the weather and taking a few protective measures means your whole front yard looks sharp for weeks—not days.
Storing Pumpkins if the Weather Turns
Sometimes fall gives us a curveball—freezing nights or pouring rain right before Halloween. I never want to see all our hard work (and fun!) melt away. When this happens, I have a few storage tricks:
- Bring them inside temporarily: If a big freeze is coming, I move pumpkins into the garage or mudroom overnight. Just set them back outside in the morning.
- Cover lightly: For rain, a light tarp or an old shower curtain can block water for a night without trapping too much moisture.
- Keep away from heaters or hot vents: Sudden warmth makes pumpkins go mushy fast.
If you have space, store carved or decorated pumpkins in a roomy, cool area. For extra insurance, spread them out so they’re not touching. Squished pumpkins mean faster rot, and nobody wants to wake up to a pile of orange goo on the porch!
Preserving Special Pumpkin Projects for Next Year
Some decorations are too special to toss. If your family creates painted pumpkins or foam/fake pumpkin masterpieces, storing them the right way puts a smile on everyone’s face next fall when it’s time to decorate again.
Here’s my process:
- Let everything dry completely before storing. I set painted pumpkins on a shelf in the garage until the paint cures fully.
- For artificial pumpkins, dust them off and check for cracks before tucking them away.
- Wrap in tissue paper or an old towel and place in a sturdy box. I write the year and each kid’s name on the box, so next October we have a surprise waiting for us!
- Store in a dry, dark spot like a closet or basement corner, away from curious critters and moisture.
Fake pumpkins and long-lasting decorations mean you can keep your family’s favorite work for years.
Quick Pumpkin Lifesaver Tips for Busy Moms
If you find yourself with a pumpkin emergency (it happens out of nowhere, trust me!), try these last-minute fixes:
- Dab a little vinegar or lemon juice on soft spots. This slows down mold for a few days.
- Trim off any mushy sections. Sometimes you can cut away the trouble spot and keep the rest on display.
- Give painted pumpkins a fresh coat of clear spray. This works wonders for reviving faded colors or chipped spots.
Every mom needs a few tricks up her sleeve, especially when tiny hands are involved and weather has a mind of its own. A little love and a few easy habits help your halloween outdoor pumpkin decor last long past Halloween, so your porch keeps its festive spirit all month!

Conclusion
Halloween outdoor pumpkin decor really is within reach for even the busiest moms, and you don’t need fancy skills or a huge budget to make it special. A little effort, some laughter, and a handful of pumpkins can turn your yard into a place of magic that your kids will remember for years. Snap lots of photos, savor those silly or wild moments, and let your kids take the lead when you can—that’s where the best memories come from! Share your photos, invite neighbors for a safe, outdoor pumpkin parade, or encourage your friends to join in the fun too. Thank you for reading and sharing this family tradition with me. Here’s to a Halloween filled with color, joy, and a yard that truly wows!
This post may contain affiliate links. Read the full disclosure here.